Embarking on a DIY project can be both exhilarating and daunting, especially when it involves upgrading or repairing your vehicle’s interior. Enter the Dorman 924-091 Panel—a versatile component designed to restore functionality and aesthetics with precision. Whether you’re a seasoned car enthusiast or a novice eager to learn,this step-by-step guide will walk you through the installation process seamlessly. Say goodbye to confusion and hello to a smoother, more efficient way to transform your vehicle’s interior. Let’s dive into the details and make this project not just manageable, but genuinely rewarding.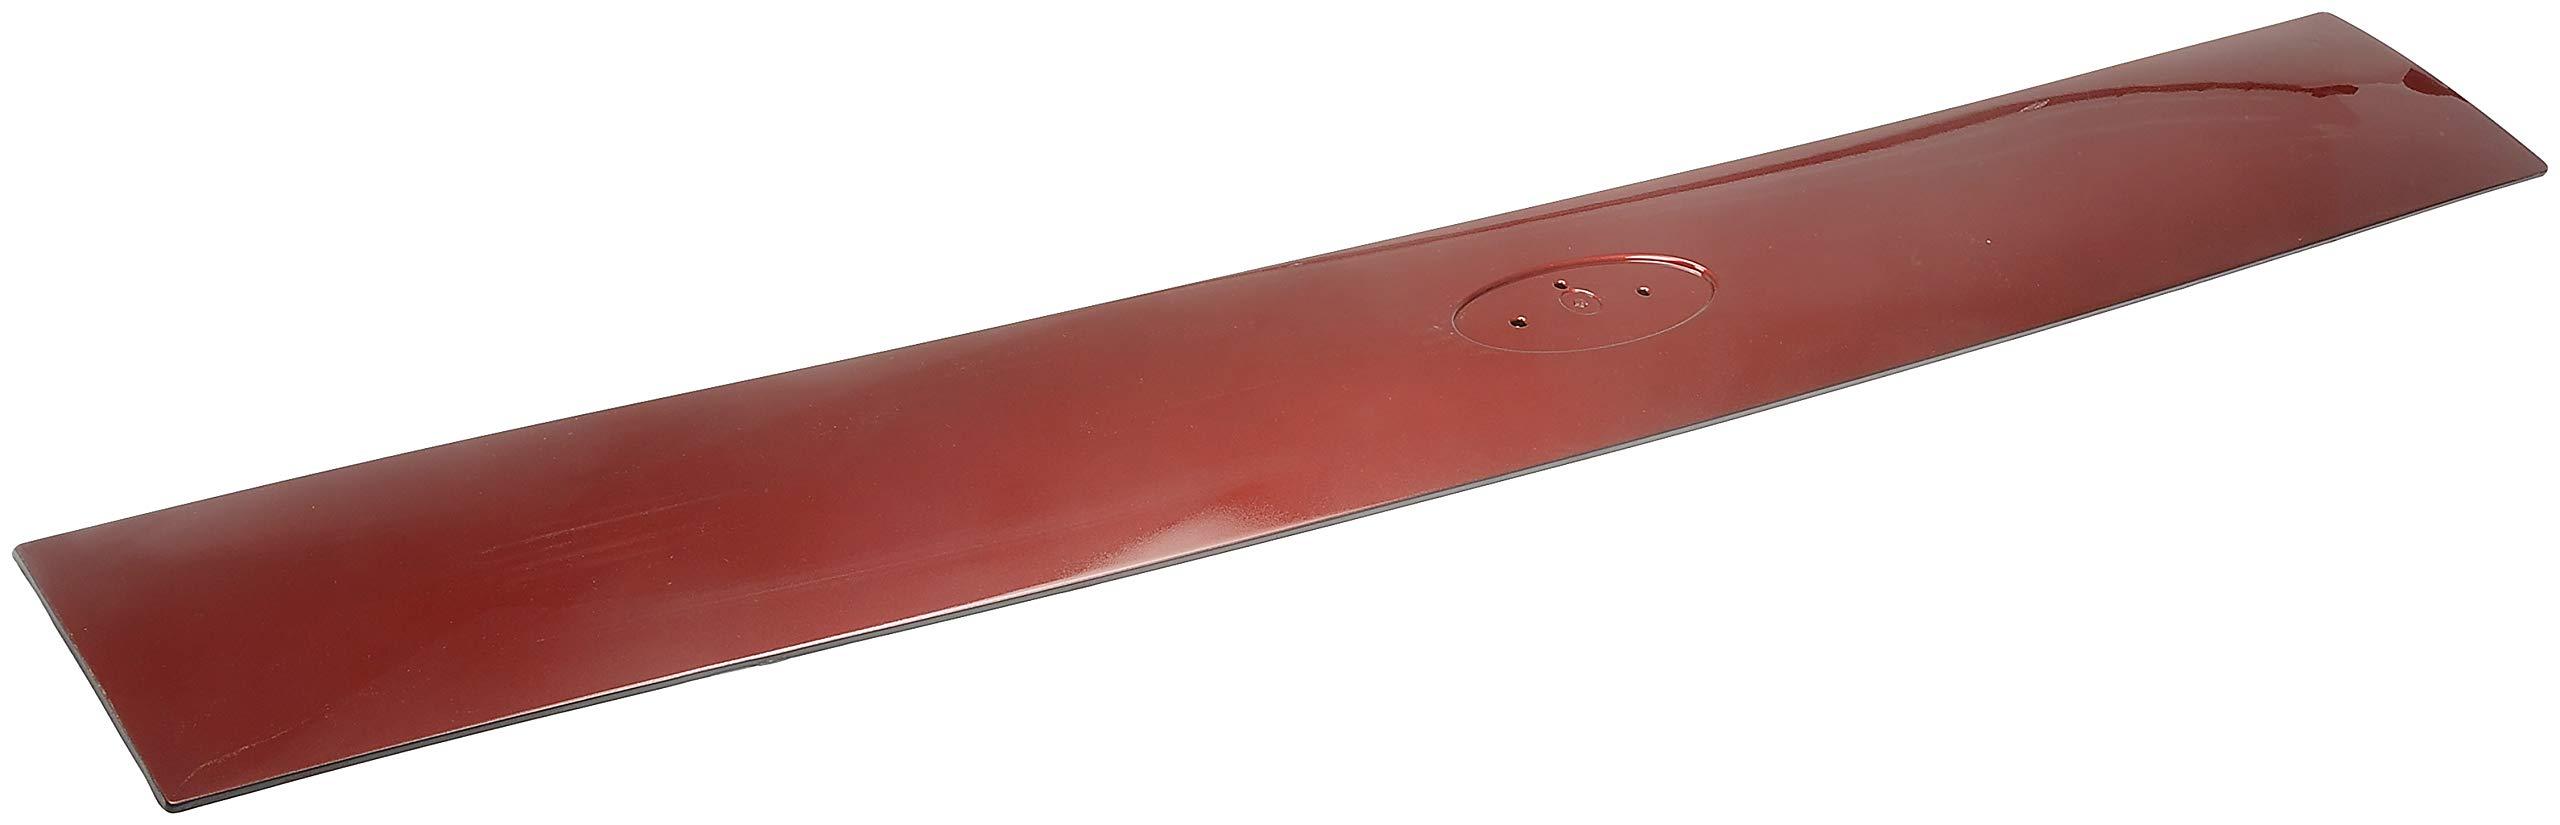
Preparing Your Workspace for a Smooth Installation
Before you begin installing the Dorman 924-091 Panel, it’s essential to set up your workspace for success. Start by gathering all the necessary tools and materials to avoid needless interruptions. A clutter-free, well-lit area ensures you can focus on the task at hand. Consider using a soft cloth or mat to protect the panel from scratches during the process.Additionally, keep a trash bin nearby for easy disposal of packaging materials or debris.
Here’s a quick checklist to help you organize your workspace:
- Cleaning Supplies: Mild detergent, microfiber cloth, and water for surface preparation.
- Basic Tools: Screwdrivers, pliers, and a trim removal tool.
- Safety Gear: Gloves and safety glasses to protect yourself during installation.
| Workspace prep | Why It’s Crucial |
|---|---|
| Clear the Area | Prevents accidents and allows easy movement. |
| Organize tools | Saves time and ensures everything is within reach. |
| Protective Layers | Prevents damage to the panel or your vehicle’s interior. |

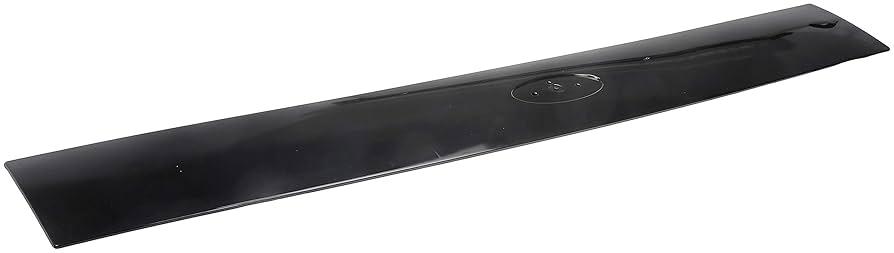
Understanding the Components of the Dorman 924 091 Panel
To successfully install the Dorman 924-091 panel, it’s essential to familiarize yourself with its key components. This panel is designed to optimize functionality and durability, featuring high-quality materials and a precise design. Below is a breakdown of its primary elements:
- Mounting Brackets: Thes ensure a secure fit and alignment with your vehicle’s frame.
- Integrated Wiring Harness: Designed for seamless electrical connections, reducing installation time.
- Reinforced Edges: Provide extra strength and prevent wear over time.
- Plug-and-Play Design: Simplifies the setup process, making it user-friendly even for beginners.
| Component | Function |
|---|---|
| Mounting Brackets | Ensures stability and alignment |
| Wiring Harness | Facilitates electrical connections |
| Reinforced Edges | Enhances durability |
| Plug-and-Play Design | simplifies installation |
Understanding these components not onyl aids in the installation process but also ensures you can troubleshoot any issues that may arise. Each part is meticulously engineered to work in harmony, offering a reliable and efficient solution for your vehicle’s needs. Whether you’re a seasoned mechanic or a DIY enthusiast, grasping the panel’s structure will make the installation smoother and more intuitive.
Step by Step Instructions for securing the Panel Correctly
To ensure the Dorman 924-091 panel is securely installed, follow these steps carefully. begin by aligning the panel with the designated area on your vehicle, making sure it sits flush against the mounting surface.Use the included fasteners or compatible screws to loosely attach the panel, allowing for adjustments if needed. Once aligned, tighten the screws in a crisscross pattern to distribute pressure evenly and avoid warping. Double-check the fitment to confirm there are no gaps or misalignments before proceeding.
Next, verify the panel’s stability by performing a quick stress test. Gently press on various sections to ensure there’s no flexing or movement. If the panel feels loose, re-tighten the screws incrementally until it feels secure. For additional peace of mind, refer to the table below for a checklist of key installation points:
| Step | Checklist |
|---|---|
| Alignment | Ensure panel sits flush with the surface |
| Fasteners | Use correct screws and tighten evenly |
| Stability | Test for flexing or movement |
By following these steps meticulously, you’ll achieve a professional and secure installation that enhances both functionality and appearance.
Troubleshooting Common Issues and Pro Tips for a Flawless Fit
Encountering issues during installation? Don’t worry—we’ve got you covered. Here are some common challenges and their solutions:
- Misalignment: Ensure the panel is positioned correctly before tightening.Adjust gently to avoid bending.
- Difficulty Fastening Screws: Thread the screws by hand first. If resistance occurs,back out and try again to prevent cross-threading.
- Gaps or Uneven Fit: Verify that the surrounding components are properly seated. Sometimes,realigning adjacent parts resolves the issue.
| Issue | Quick Fix |
|---|---|
| Rattling Noise | Ensure all screws are securely tightened and check for loose components. |
| Scratched Panel | Use a microfiber cloth to protect the surface during installation. |
For a flawless fit, follow these pro tips:
- Prep the Area: Clean the installation spot thoroughly to remove debris or dust that could interfere with the fit.
- Use Proper Tools: A torque wrench can ensure even tightening without over-torquing the screws.
- Double-Check Measurements: Confirm panel dimensions beforehand to avoid compatibility issues.
Insights and Conclusions
Outro:
And there you have it—your journey to installing the Dorman 924-091 panel is now complete! From gathering your tools to that satisfying final click,this guide has walked you through each step with clarity and precision.Whether you’re a seasoned DIY enthusiast or a first-timer, this project showcases how a little patience and the right approach can transform a daunting task into a rewarding accomplishment.
As you step back to admire your handiwork,remember that every successful project adds to your confidence and skill set. The Dorman 924-091 panel is now securely in place, ready to serve its purpose seamlessly. So, pat yourself on the back—you’ve not only installed a panel but also unlocked a new level of self-reliance.
Until your next project,keep tinkering,keep learning,and keep embracing the joy of doing it yourself.Happy fixing! 🛠️
