In the sprawling digital tapestry of YouTube, where every second holds the potential to captivate, the art of clipping has emerged as a subtle yet powerful skill. Whether you’re a creator looking to highlight your best moments or a viewer eager to share a snippet of brilliance, mastering the craft of YouTube clipping is no longer optional—it’s essential. Imagine distilling hours of content into bite-sized gems, ready to shine in the fast-paced world of social media. This article unlocks the secrets to mastering this art in simple, approachable steps, turning what might seem like a daunting task into a creative playground. Whether you’re a novice or a seasoned enthusiast, prepare to elevate your YouTube game wiht precision, finesse, adn a touch of flair.
Understanding the Basics of YouTube Clipping Tools
YouTube clipping tools are essential for creators who want to share specific moments from their videos without requiring viewers to watch the entire content. These tools allow you to extract and highlight key segments, making it easier to engage your audience or create teasers for longer videos. Key features of these tools include intuitive interfaces, precise trimming options, and seamless integration with YouTube’s platform.
Here’s a quick breakdown of what you can achieve with these tools:
- Create Highlights: Showcase the most exciting or impactful moments from your videos.
- Boost Engagement: Share shorter clips on social media platforms to drive traffic back to your full video.
- Save Time: Avoid uploading redundant content by focusing on the most relevant parts.
| Tool Feature | Benefit |
|---|---|
| Easy Tagging | Mark moments quickly for future reference. |
| Custom Duration | Adjust clip length to suit your needs. |
| Direct Sharing | Post clips instantly to platforms like Twitter or instagram. |
Mastering these tools doesn’t require advanced technical skills—most platforms offer step-by-step guides to help beginners. By leveraging clipping tools effectively, you can maximize your content’s reach and keep your audience engaged with concise, impactful snippets.
Crafting Engaging Clips for Maximum Viewer Impact
Creating compelling YouTube clips is more than just trimming a video—it’s about capturing attention and sparking curiosity. Start by identifying the most engaging moments in your content—those that evoke emotion, deliver value, or simply entertain. Use clear visuals and dynamic transitions to keep viewers hooked. Always centre your clip around a single,impactful idea to avoid overwhelming your audience.Remember, brevity is key; aim for a clip that’s concise yet impactful.
Enhance your clips with thoughtful details to maximize viewer retention. Here’s a quick checklist to elevate your work:
- Optimize thumbnails: use vibrant colors and bold text to attract clicks.
- Add captions: Make your content accessible and easier to follow.
- Leverage music: Choose background tracks that complement the mood without overpowering the message.
| Element | Purpose |
|---|---|
| Hook | Grab attention instantly |
| CTA | Encourage viewer interaction |
| Branding | Reinforce your identity subtly |
Optimizing Clips for Different Platforms and Audiences
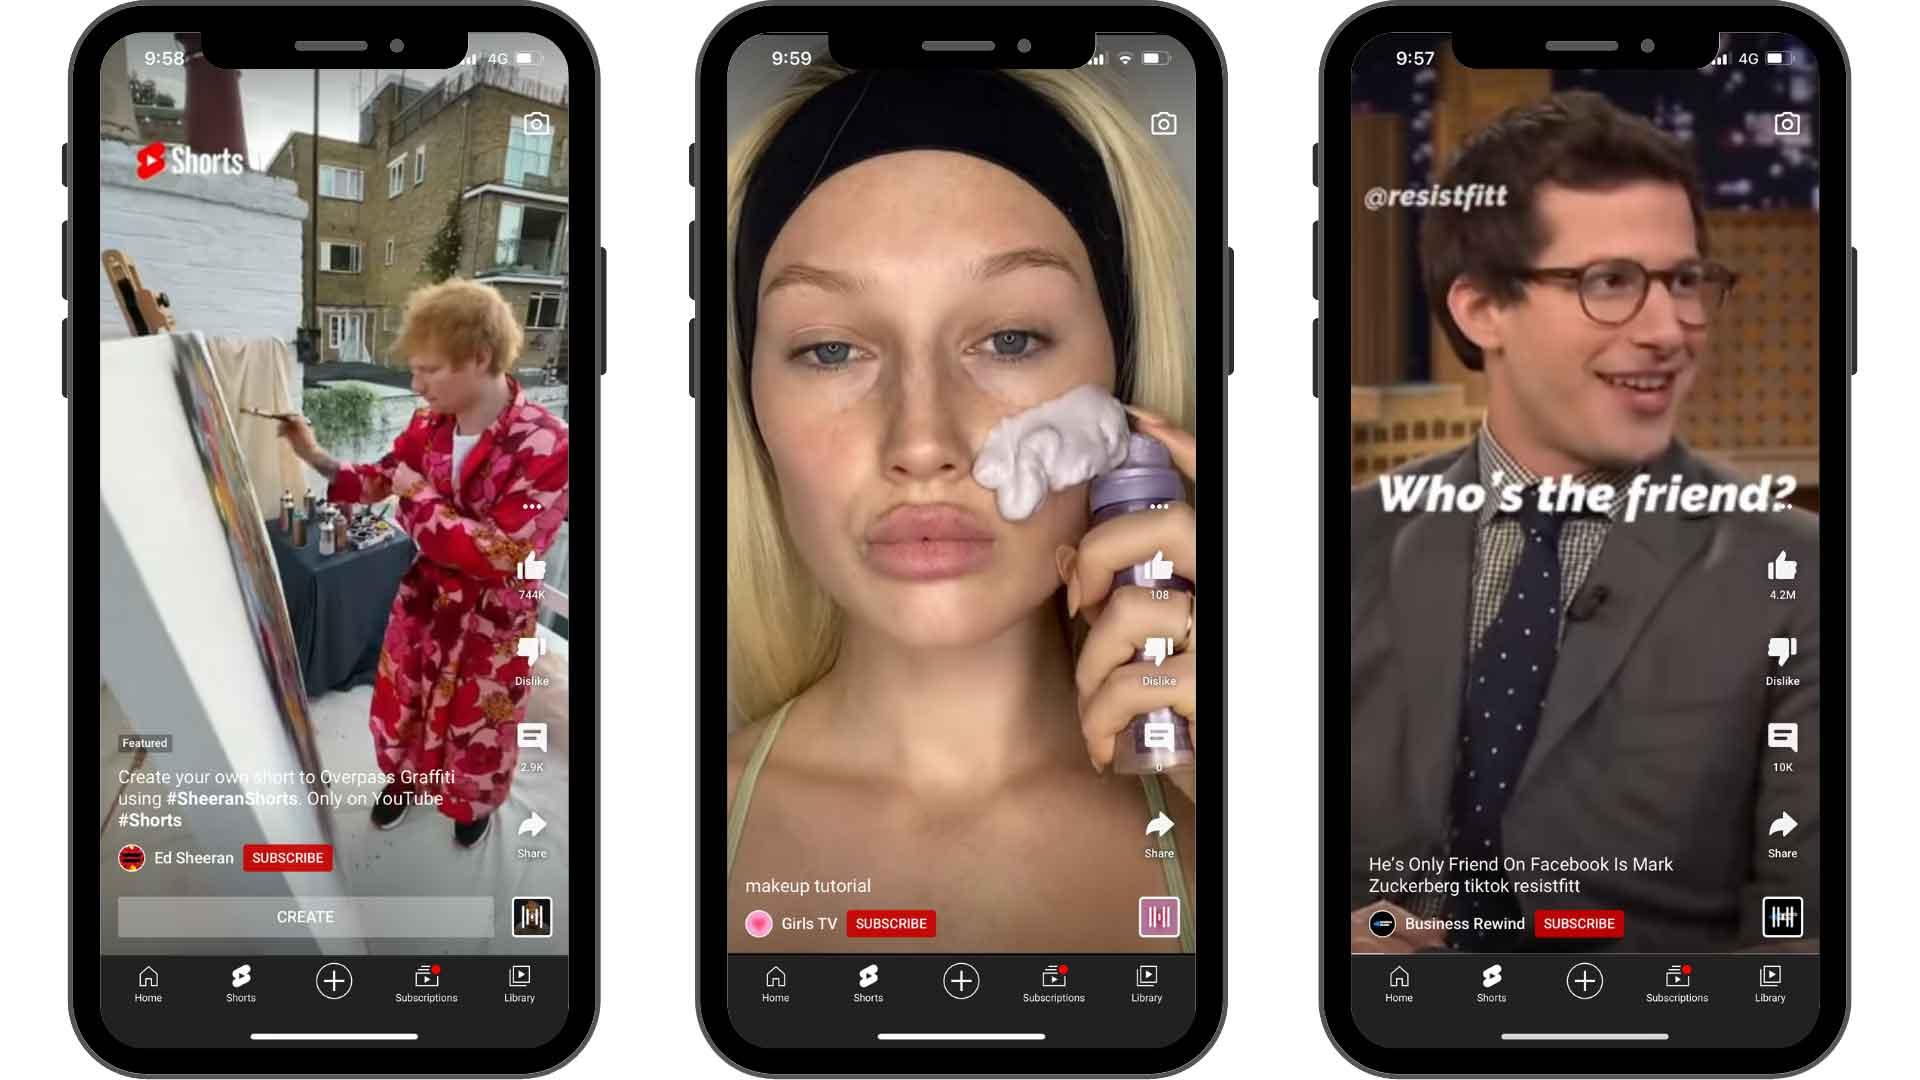
Creating engaging clips for YouTube isn’t just about trimming videos—it’s about tailoring them to fit the platform’s unique ecosystem and audience expectations. Short-form content thrives on quick hooks, so focus on the first 3-5 seconds to grab attention. For example, highlight a surprising moment, a bold statement, or a visually striking scene. Use captions and dynamic cuts to keep viewers engaged, especially for mobile audiences who often watch without sound. Each platform has its own rhythm; Instagram Reels favors trends and music, while TikTok leans into fast-paced storytelling. Adapt your clips accordingly.
| Platform | Key Optimization Tip |
|---|---|
| YouTube Shorts | Use vertical format & trending sounds |
| TikTok | Leverage viral challenges & effects |
| Instagram reels | Focus on aesthetics & hashtags |
To maximize reach, repurpose your clips with subtle tweaks for each platform. A gaming montage might work as a high-energy TikTok, but on YouTube, adding context or commentary could boost watch time. Experiment with thumbnails—shining colors and expressive faces often perform better. Analytics are your best friend; track metrics like retention rates and click-throughs to refine your strategy. Remember, what works for one audience might flop for another, so stay flexible and keep testing!
Essential Tips for Seamless Editing and publishing
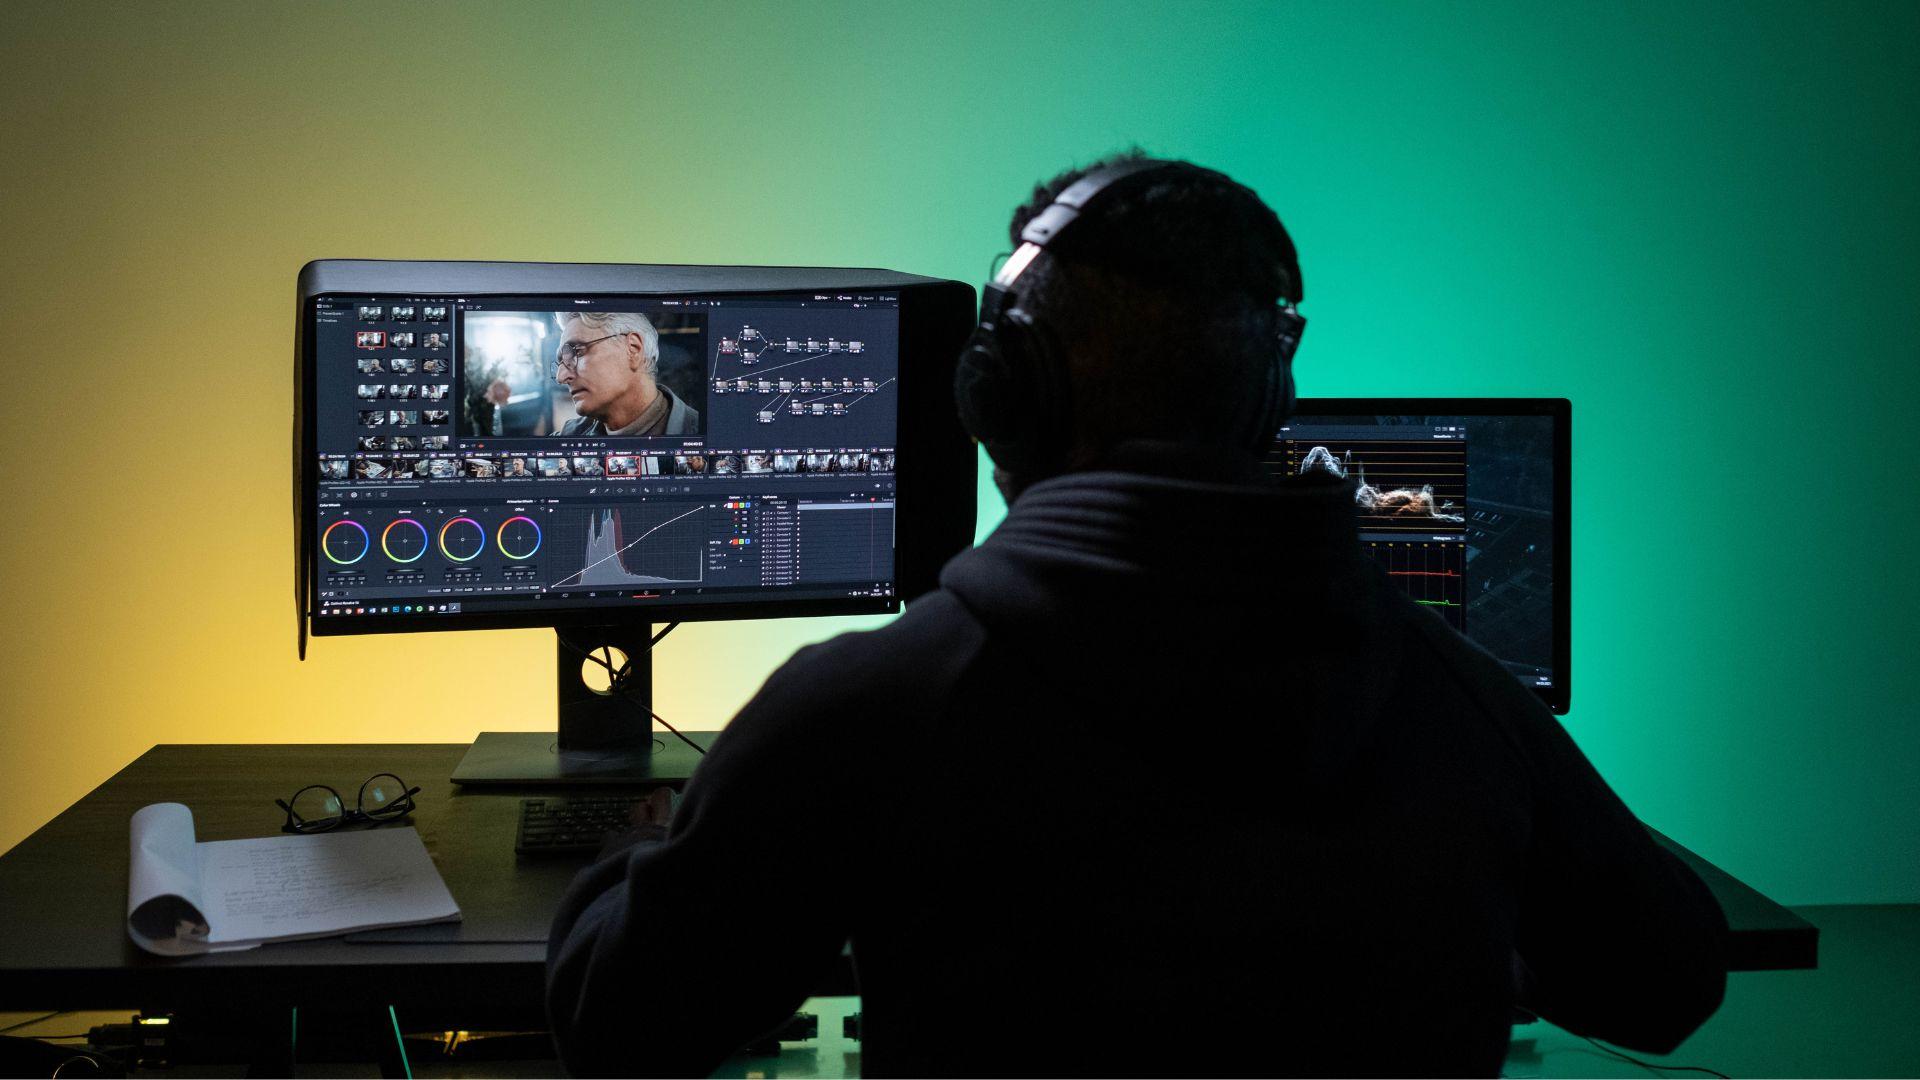
Creating polished YouTube clips requires a blend of technical know-how and creative finesse. Start by choosing the right editing software—tools like Adobe Premiere Pro, Final Cut Pro, or even free options like DaVinci Resolve can elevate your content. Focus on trimming unneeded segments to keep your clips concise and engaging. Use transitions sparingly to maintain a professional flow, and always double-check audio levels to ensure clarity.
When publishing, optimize your clips for maximum visibility. Craft compelling titles and thumbnails that grab attention instantly. Utilize YouTube’s tagging system to improve discoverability, and don’t forget to add timestamps for longer videos. Here’s a quick reference table for key publishing tips:
| Tip | Benefit |
|---|---|
| Use eye-catching thumbnails | Boosts click-through rates |
| Add relevant tags | Improves search rankings |
| Include timestamps | Enhances viewer navigation |
Future Outlook
As you venture into the world of YouTube clipping, remember that simplicity is your greatest ally. Each clip you craft is a tiny universe of creativity, waiting to captivate its audience. Whether you’re trimming for education, entertainment, or inspiration, the power lies in your hands—tools are just the starting point. Keep experimenting, keep refining, and don’t forget to enjoy the process. after all, every great video begins with a single clip. So, go ahead, slice, snip, and share. Your audience is waiting, and the next viral moment might just be one click away. Happy clipping! 🎬✨