In today’s digital age, YouTube has become a go-to platform for consuming and sharing video content.Whether you’re creating a highlight reel,sharing a specific moment,or just trimming unneeded parts,knowing how to clip a YouTube video is an essential skill. Luckily, the process is simpler than you might think! In this guide, we’ll walk you through the steps to trim and clip YouTube videos with ease, ensuring you can focus on sharing exactly what matters. Whether you’re a beginner or just looking for a refresher, this rapid and straightforward method will have you editing like a pro in no time. Let’s dive in!
Understanding the Benefits of Trimming YouTube Videos
Trimming YouTube videos can significantly enhance your content,making it more engaging and professional. By removing unnecessary parts,you ensure your audience stays focused on the key message,leading to better viewer retention. Benefits include:
- Improved clarity: Eliminate distractions to deliver a concise message.
- Enhanced professionalism: Polished videos leave a lasting impression.
- Faster upload times: Smaller file sizes mean quicker processing.
Whether you’re creating tutorials, vlogs, or promotional content, trimming allows you to maintain a smooth flow. It also helps in repurposing longer videos into shorter, shareable clips for platforms like Instagram or TikTok. Quick tips to maximize efficiency:
| Tool | Best For |
|---|---|
| YouTube Editor | Basic trimming directly on the platform |
| Third-party software | Advanced editing and customization |
Step-by-Step Instructions for Clipping Your Video Content
Clipping a YouTube video doesn’t have to be intricate—whether you’re saving a memorable moment or trimming unnecessary sections. Here’s how to do it effortlessly:
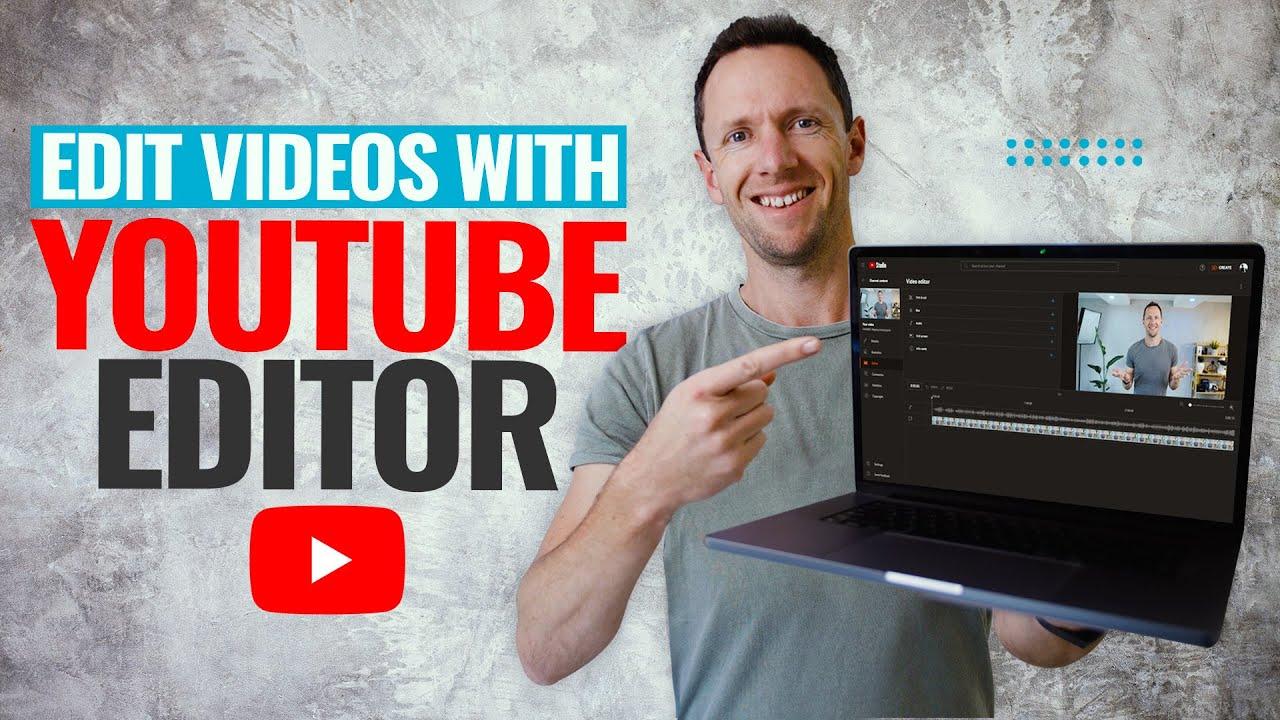
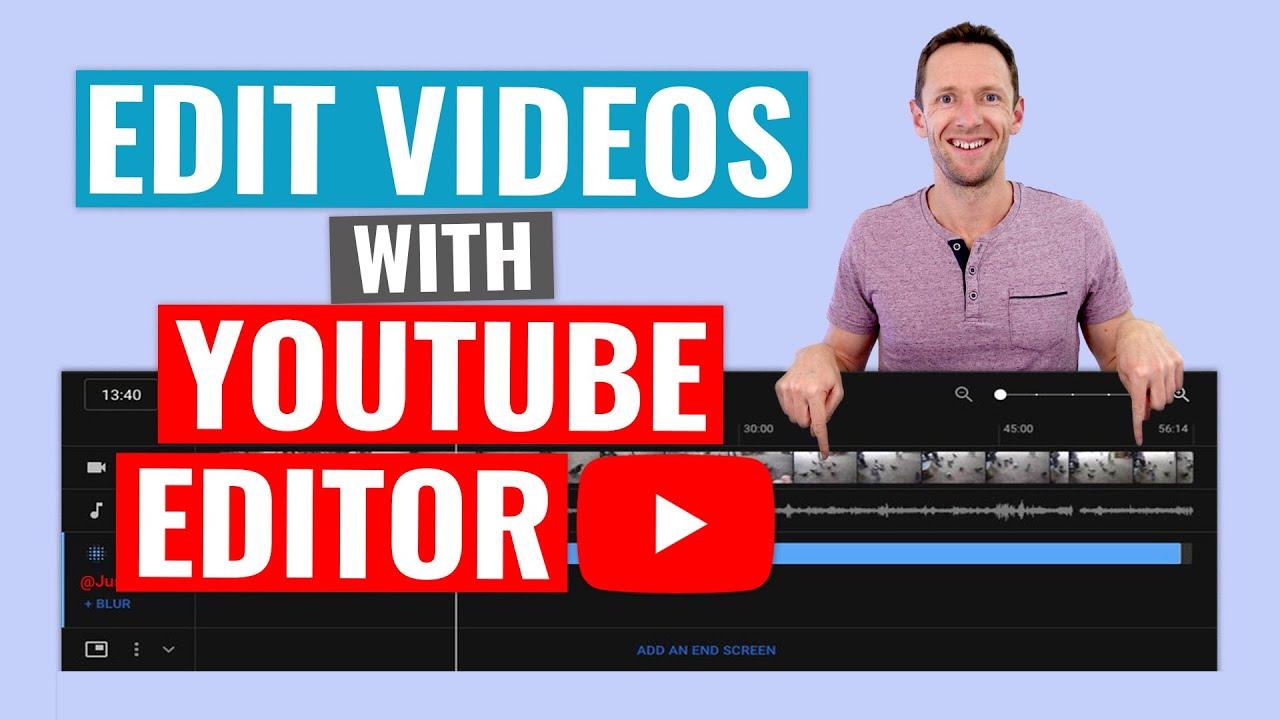
- Open YouTube Studio: Navigate to your dashboard and select the video you want to edit.
- Use the Trim Tool: Click “Editor” in the left menu, then drag the blue sliders to mark your clip’s start and end points.
- Preview & save: Watch the trimmed version before hitting ”Save as new video” to keep the original intact.
| Tool | Best For |
|---|---|
| YouTube Editor | Quick, built-in trims |
| Third-party apps | Advanced edits & effects |
for more precision, try external tools like Kapwing or Clideo, which offer frame-by-frame control. Just upload your video, adjust the timeline, and export in your preferred format. Remember: shorter clips load faster and keep viewers engaged!
Essential Tools and Features for Smooth Video Editing
Video editing doesn’t have to be overwhelming,especially when you have the right tools and features at your fingertips. Start with intuitive editing software like Adobe Premiere Pro, Final Cut pro, or even free options like DaVinci Resolve. these platforms offer seamless trimming, cutting, and transitions to make your YouTube videos polished and professional. Additionally, leverage built-in tools such as timeline markers, keyboard shortcuts, and preview windows to speed up your workflow. don’t overlook the power of audio enhancements—clear sound can elevate the viewing experience just as much as visuals.
For precision, consider using plugins or extensions like YTMP3.cc or Clipchamp to download and edit YouTube videos directly. Here’s a quick comparison of essential features:
| feature | Benefit |
|---|---|
| Timeline Editing | Accurate cuts and trims |
| audio Synchronization | Enhanced viewer retention |
| Export Options | Multiple formats for flexibility |
Pair these tools with drag-and-drop functionality and cloud storage integration for a streamlined editing process. Whether you’re trimming a tutorial or crafting a montage, these essentials ensure your YouTube videos stand out effortlessly.
Tips for Optimizing your Clipped Videos for Maximum Impact
Trimming YouTube videos is just the first step—optimizing them ensures they stand out and engage your audience effectively. Choose the right moments by focusing on highlights that align with your message or story. Use clear and concise edits to maintain viewer interest, avoiding unnecessary pauses or distractions. Additionally, ensure your clips are visually appealing by adjusting brightness, contrast, or adding subtle transitions.
To amplify impact, consider enhancing audio quality—crisp sound can make a significant difference. Pair your video with eye-catching thumbnails and concise titles that spark curiosity. Here’s a quick reference for optimizing clips:
| Element | Optimization Tip |
|---|---|
| Visuals | Use high-resolution footage and smooth transitions |
| Audio | ensure clear sound and balanced volume |
| Engagement | Add subtitles or captions for accessibility |
concluding Remarks
Outro:
And there you have it—trimming a YouTube video doesn’t have to be a daunting task! Whether you’re a content creator, educator, or just someone looking to share a memorable moment, mastering this simple skill can make a world of difference. So, grab your video, follow these steps, and start crafting clips that shine. Happy editing, and may your future uploads be as seamless as your cuts!