In a world where visuals speak louder than words,YouTube reigns supreme as the stage for storytellers,educators,entertainers,and creators of all kinds. Whether you’re a seasoned content creator or just dipping your toes into the vast ocean of online video, mastering the art of uploading can transform your YouTube journey from daunting to delightful.
This guide is your compass to navigating the intricacies of video uploads, designed to make the process seamless, efficient, and—dare we say—effortless. From optimizing file formats to crafting captivating titles, we’ll explore the steps that elevate your uploads from basic to brilliant. Ready to unlock the secrets of smoother content creation? Let’s dive in.
Optimizing Your YouTube Channel Setup for Seamless Uploads
To ensure smooth and hassle-free video uploads, start by optimizing your channel’s basic settings. Choose a clear and memorable channel name that aligns with your content niche. Use a high-quality profile picture and banner that reflect your brand identity. Additionally, enable default upload settings to save time—pre-define your video title format, tags, and descriptions. This reduces repetitive tasks and maintains consistency across your uploads.
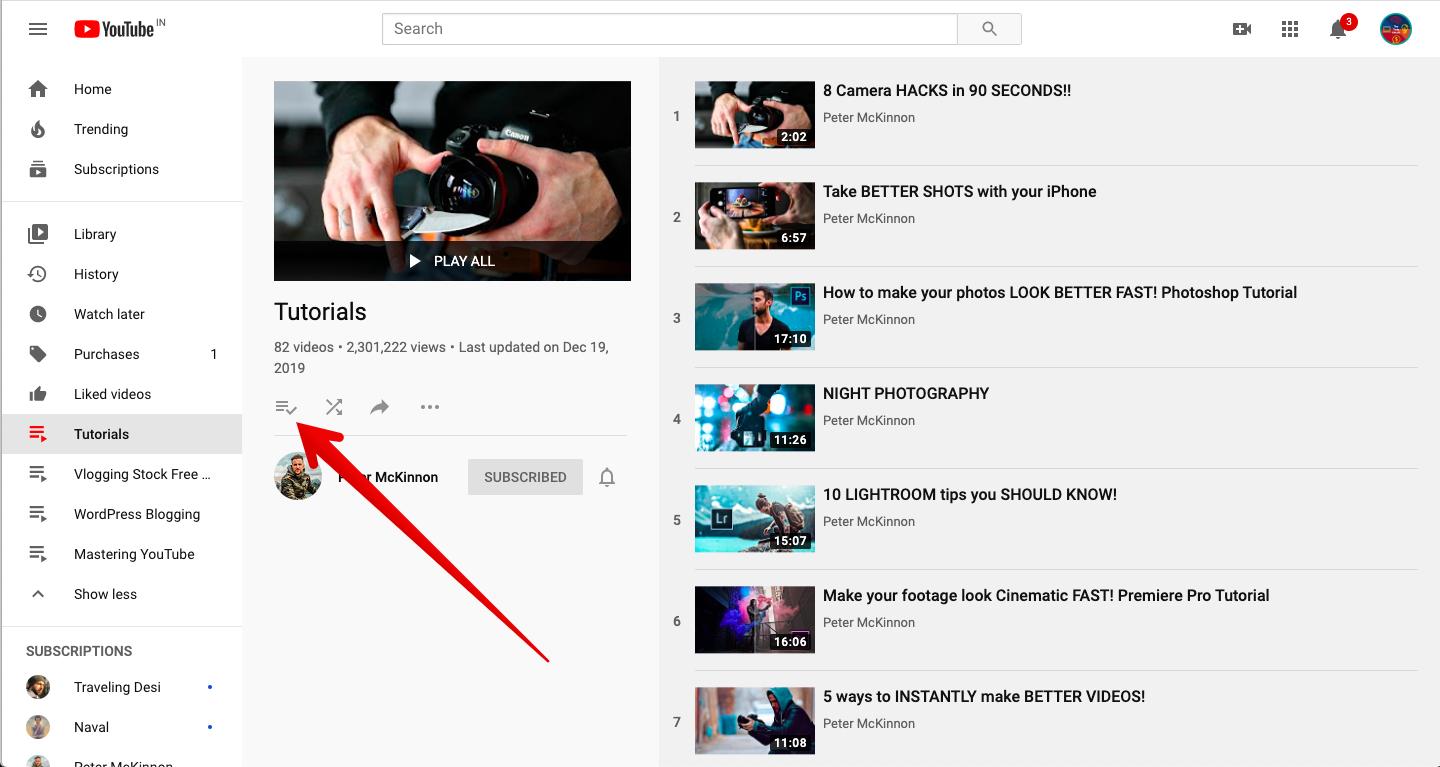
- Organize playlists: Group similar videos into playlists for better navigation and viewer retention.
- Enable monetization: Set up ads and sponsorships early to maximize revenue potential.
- leverage scheduling: Upload videos in advance and schedule them for optimal post times.
| Setting | Benefit |
|---|---|
| Default Tags | Saves time and improves discoverability |
| Upload Thumbnails | Boosts click-through rates |
| End Screens | Encourages viewers to explore more content |
Crafting Compelling Video Titles and Descriptions for Maximum Impact
Your video’s title and description are the first things viewers see—make them count! A captivating title sparks curiosity, while a well-crafted description provides context and boosts discoverability.Here’s how to nail both:
- Hook with clarity: Balance intrigue with straightforward language (e.g., “5 Baking Hacks you’ve never Tried” instead of “Amazing Kitchen Tips”).
- Front-load keywords: Place search-pleasant terms early in titles and descriptions to align with YouTube’s algorithm.
- Add a call-to-action: Encourage engagement by prompting likes, comments, or subscriptions within the description.
| Element | Pro Tip |
|---|---|
| Title | Keep it under 60 characters to avoid truncation. |
| Description | Include timestamps for longer videos to improve navigation. |
Don’t overlook the power of formatting—break descriptions into scannable chunks with line breaks and bold key phrases.Embed relevant links (e.g.,your website or social media) below the fold,ensuring the first 2-3 lines focus on value. Pairing a magnetic title with a detailed yet concise description turns casual clicks into loyal viewers.
Selecting the Right Thumbnail and Tags to Boost Visibility
Creating an eye-catching thumbnail is the first step to ensuring your video stands out in a sea of content. Think of it as the “cover” of your video—it needs to be visually appealing and relevant to the topic. Use bold, contrasting colors and clear, readable text to grab attention instantly. Incorporate a focal point, such as a person or object, that aligns with your video’s theme. Remember, your thumbnail shoudl spark curiosity and entice viewers to click.
Tags play a crucial role in making your video discoverable. Use
| Broad | “Cooking Tips” |
| Niche | “Quick Vegan Recipes” |
| Keyword-Driven | “How to Cook Pasta” |
By pairing a compelling thumbnail with well-researched tags, you’ll maximize your video’s visibility and attract the right audience effortlessly.
Streamlining Your Upload Process with Proven Tools and Techniques
Creating a seamless upload process starts with leveraging the right tools and techniques. Automation tools like TubeBuddy or VidIQ can simplify tasks such as keyword research, thumbnail generation, and scheduling. These platforms integrate seamlessly with YouTube, allowing you to focus on content creation rather than repetitive workflows.Additionally, batch uploading is a game-changer for creators managing multiple videos.Tools such as Adobe Premiere Pro or DaVinci Resolve enable you to export and upload videos in bulk, saving valuable time.
Optimizing your workflow also involves organizing your assets efficiently. Consider the following checklist:
- Prepare titles,descriptions,and tags in advance.
- Use presets for video export settings to maintain consistency.
- Store thumbnail templates and branding elements in a dedicated folder.
| tool | Purpose |
|---|---|
| Canva | Quick thumbnail creation |
| Google Docs | Collaborative scriptwriting |
| Google Drive | Centralized file storage |
Engaging Your Audience Through Effective Post Upload Strategies
Creating compelling YouTube content starts long before you hit the “Upload” button.It’s about crafting a strategy that ensures your videos resonate with your audience and stand out in a crowded digital space. Focus on optimizing your video titles and descriptions to include relevant keywords without sacrificing creativity. Use eye-catching thumbnails that tell a story and evoke curiosity. Consistency in branding, from your channel art to your video intros, helps build a recognizable identity that keeps viewers coming back.
Engagement doesn’t end after the upload. Leverage YouTube’s built-in tools to foster interaction and keep your audience hooked. Here are some actionable tips:
- Pin top comments to highlight meaningful discussions or calls to action.
- Use end screens and cards to guide viewers to related content or playlists.
- Respond to comments promptly to build a sense of community.
| Element | Purpose |
|---|---|
| Video Tags | Enhance discoverability through targeted keywords. |
| Captions | Improve accessibility and SEO for your videos. |
| Analytics | Track performance to refine your content strategy. |
In Retrospect
Outro: Ready to Shine on YouTube?
and there you have it—your roadmap to effortless YouTube uploads! With these tips in your toolkit, you’re all set to create, upload, and share your videos with confidence. Whether you’re a seasoned creator or just starting out, mastering the basics is the first step toward growing your channel and connecting with your audience.
So hit that upload button, embrace the process, and let your content take center stage. The world is waiting to hit play on your next video. Happy uploading! 🎥✨
Got any YouTube upload hacks of your own? Drop them in the comments—we’d love to hear from you!