In a world where digital content is consumed at lightning speed, capturing and organizing valuable moments can feel like a race against time. YouTube, a treasure trove of knowledge and inspiration, frequently enough leaves us wishing for a way to preserve those fleeting insights. What if you could seamlessly save your favorite YouTube content directly to your notes on a Mac, effortlessly blending revelation with productivity? In this guide, we’ll walk you through a simple, elegant method to bridge the gap between streaming and saving, making it easier than ever to curate your digital library without missing a beat. Whether you’re a student, professional, or lifelong learner, this tip might just be the game-changer you’ve been looking for. Let’s dive in!
Streamline Your Workflow: Why Saving YouTube to Notes is a Game-Changer
Imagine this: you’re watching an insightful YouTube video packed with valuable tips, but jotting down notes manually feels tedious and disrupts your flow.What if there was a seamless way to capture key points directly from YouTube and save them to your notes app on Mac? This approach not only boosts productivity but also ensures you never lose critical details. By integrating tools like browser extensions or workflow automation apps, you can effortlessly transfer timestamps, quotes, or even entire summaries into your preferred note-taking platform, whether it’s Apple Notes, notion, or Obsidian.
| Tool | Functionality |
|---|---|
| Browser Extensions | Capture timestamps and quotes instantly. |
| Workflow Automation | Sync videos with notes apps automatically. |
| Mac Shortcuts | Create quick commands for note-saving. |
This method transforms how you interact with content, turning passive watching into active learning. Think about the time saved when you no longer need to pause and type out notes manually. Plus, having all your insights organized in one place makes it easier to revisit and apply them later. Whether you’re a student, professional, or hobbyist, streamlining this process is a small change that yields big results—efficiency, organization, and peace of mind.
Step-by-Step Guide: how to Seamlessly Transfer YouTube content to Notes on Mac
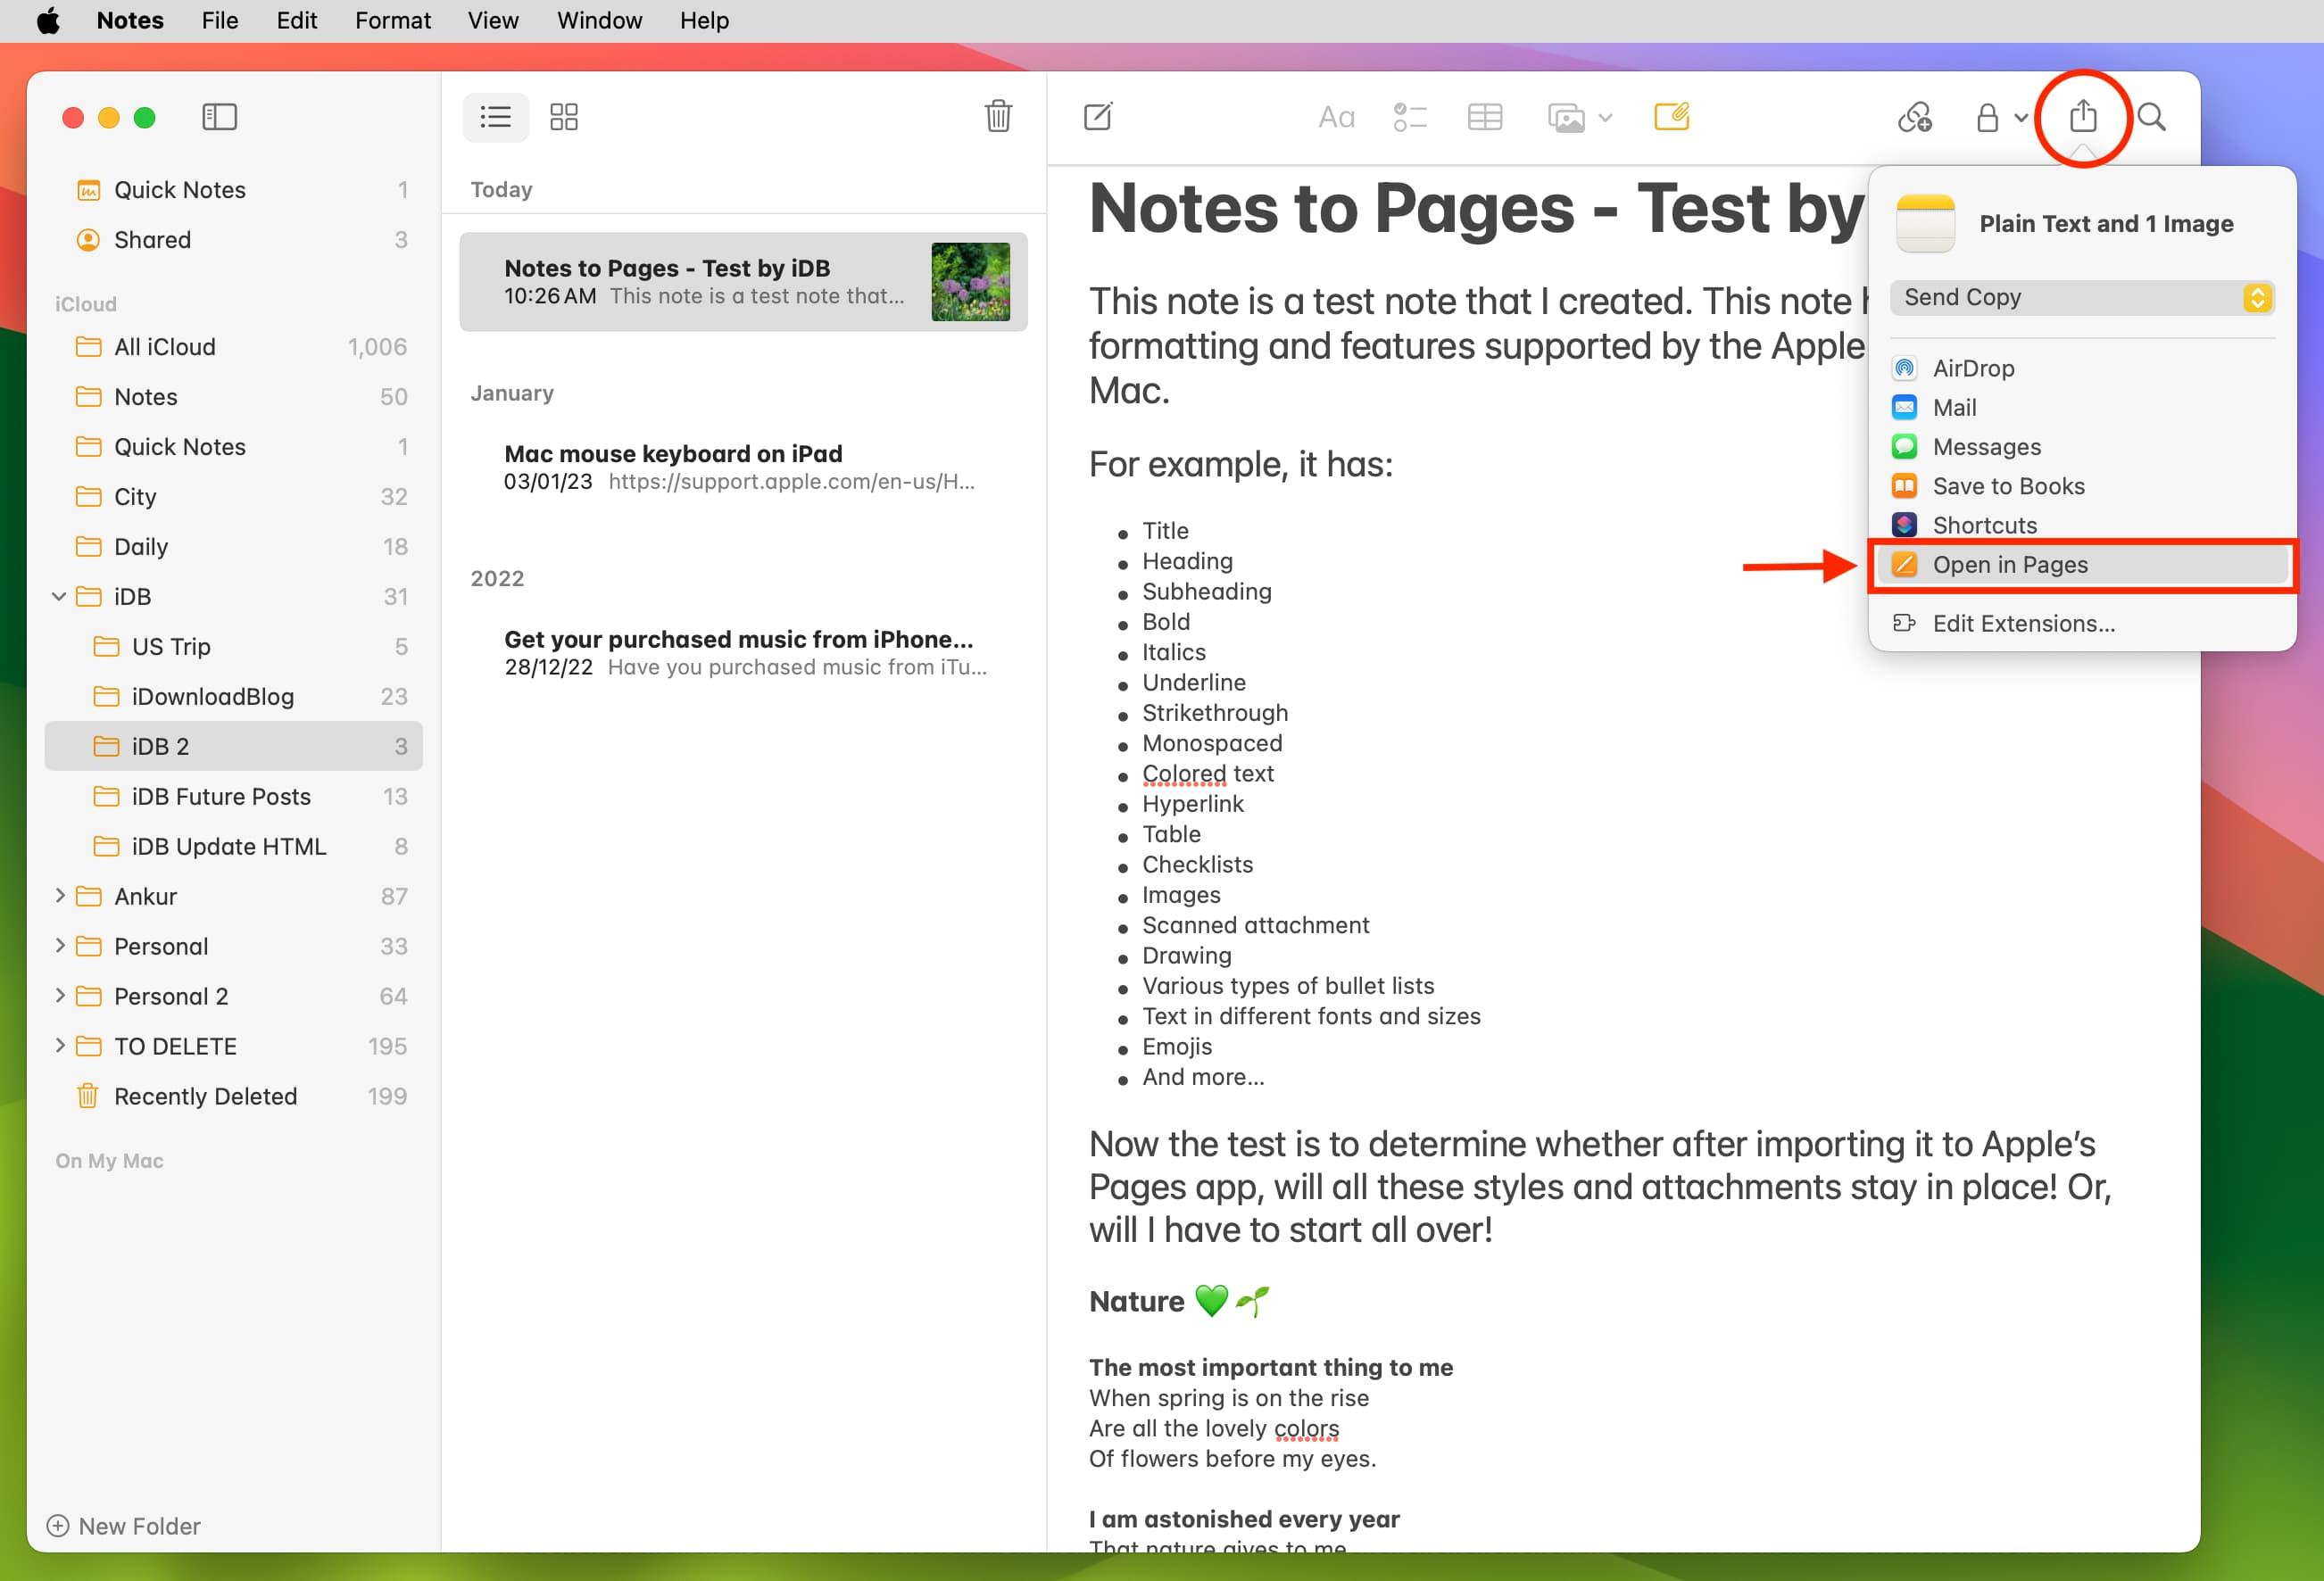
Transferring YouTube content to Notes on your Mac doesn’t have to be a hassle. Start by opening the YouTube video you want to save. Use the Share button to copy the video link or open the transcript if available. If you’re copying text, highlight the desired section and paste it directly into a new or existing note in the Notes app. For a more organized approach, consider using the Quick Note feature by swiping from the bottom-right corner of your trackpad. This allows you to jot down ideas or save links without leaving the video.
If you’re looking to save more detailed information, like timestamps or key points, create a table within Notes to keep everything structured. Here’s a simple way to do it:
| Time | Key Point |
|---|---|
| 0:30 | Introduction to the topic |
| 2:15 | Main points explained |
| 4:50 | Summary and conclusion |
For videos with chapters, you can also copy the chapter titles and paste them into your note for quick reference. This method ensures your YouTube content is neatly saved and easily accessible whenever you need it.
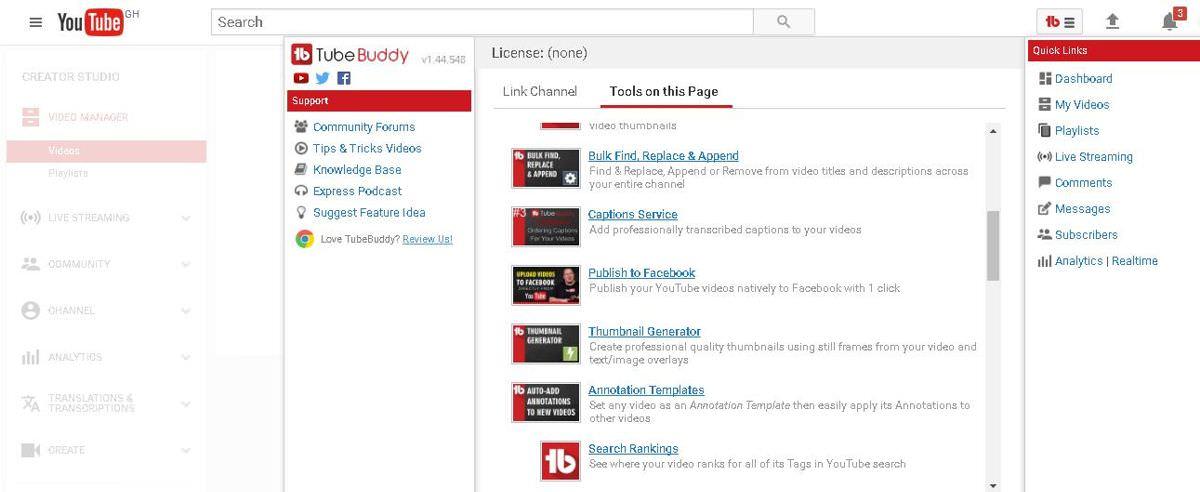
Top Tools and Apps to Simplify the YouTube-to-Notes Process
Transforming YouTube videos into organized notes doesn’t have to be a tedious task. with the right tools, you can streamline the process and focus on the content rather than the mechanics. Here are some of the top tools and apps to help you achieve this seamlessly:
- Notion: A versatile all-in-one workspace that allows you to embed YouTube videos and take notes side by side.
- Evernote: Perfect for clipping video content and adding detailed annotations for future reference.
- Otter.ai: Automatically transcribes YouTube videos, making it easier to extract key points and create notes.
- OneNote: Integrates well with Mac and lets you sync notes across devices while embedding video links.
For those who prefer a more structured approach, here’s a quick comparison of these tools to help you decide which one suits your needs best:
| Tool | Key Feature | Best For |
|---|---|---|
| Notion | Embed videos & notes in one place | all-in-one organization |
| Evernote | Video clipping & annotations | Detailed note-taking |
| Otter.ai | Automatic transcription | Quick content extraction |
| OneNote | Cross-device syncing | Seamless integration |
Pro Tips for Organizing and Maximizing Your Saved YouTube Notes
Organizing your saved YouTube notes can significantly boost your productivity and make it easier to reference valuable information later. Start by categorizing your notes based on themes or topics. As an example, create separate folders or tags for tutorials, motivational content, or educational resources. This way, you can quickly locate specific notes without sifting through a cluttered list. Additionally, use concise titles or keywords when saving notes to make them more searchable. If your note-taking app supports it, add timestamps or links to the original video for context.
To maximize the utility of your saved notes,consider integrating them into your workflow. Export notes to other apps like task managers or project tools to keep everything in one place. Here’s a quick reference table for popular Mac apps and their features:
| App | Key Feature |
|---|---|
| Apple Notes | Syncs across devices effortlessly |
| Notion | Supports rich formatting and databases |
| Evernote | Offers powerful search and tagging |
review and refine your notes periodically to ensure they remain relevant and actionable. This habit not only keeps your collection organized but also reinforces your learning from the content you’ve saved.
Troubleshooting Common Issues When Saving YouTube Content to Notes
While saving YouTube content to notes on your Mac is straightforward, you might encounter a few hiccups along the way. One common issue is the inability to copy and paste video links directly into your notes app. This can happen if the app doesn’t support rich text formatting or if the link is too long. To resolve this, try using a URL shortener or manually typing the link. Another frequent problem is missing video details when saving. If the title,description,or timestamp doesn’t appear,ensure you’re using a compatible app or extension that supports metadata extraction.
Here’s a quick reference table for troubleshooting common issues:
| Issue | Solution |
|---|---|
| Link not pasting | Use a URL shortener or type manually |
| Missing video details | Use a compatible app or extension |
| App crashes | Update the app or restart your Mac |
Additionally, if your notes app crashes or freezes during the process, it could be due to insufficient system resources. Close unnecessary applications or restart your Mac to free up memory. For smoother performance, consider using lightweight apps specifically designed for note-taking and media integration. By addressing these issues proactively, you can ensure a seamless experience when saving YouTube content to your notes.
concluding Remarks
And there you have it—unlocking the power of seamless integration between YouTube and your Notes app on Mac is no longer a distant dream but a simple, doable reality. With just a few clicks and a sprinkle of tech-savvy magic, you’ve transformed the way you save, organize, and revisit your favorite video insights. Whether you’re a productivity enthusiast, a lifelong learner, or just someone who loves keeping ideas at their fingertips, this guide has hopefully made your digital life a little smoother, a little smarter, and a lot more effortless. So go ahead—capture those moments, store those thoughts, and let your creativity flow. The next time inspiration strikes, you’ll be ready. Happy saving! 🎥✨