Welcome too the ultimate guide to curating your personal YouTube haven—where creativity meets functionality, and passion transforms into pixels. Whether you’re a seasoned content creator or just starting your journey, your studio is more than just a space; it’s the stage where your ideas come to life.Crafting the perfect YouTube studio isn’t about having the fanciest equipment or the biggest budget—it’s about designing a space that inspires,empowers,and elevates your content. In this step-by-step guide, we’ll walk you through the essentials of building a studio that’s both practical and tailored to your unique style. From choosing the right lighting to optimizing sound quality and setting up a backdrop that tells your story, we’ve got you covered. Let’s dive in and create a studio that’s as remarkable as your content.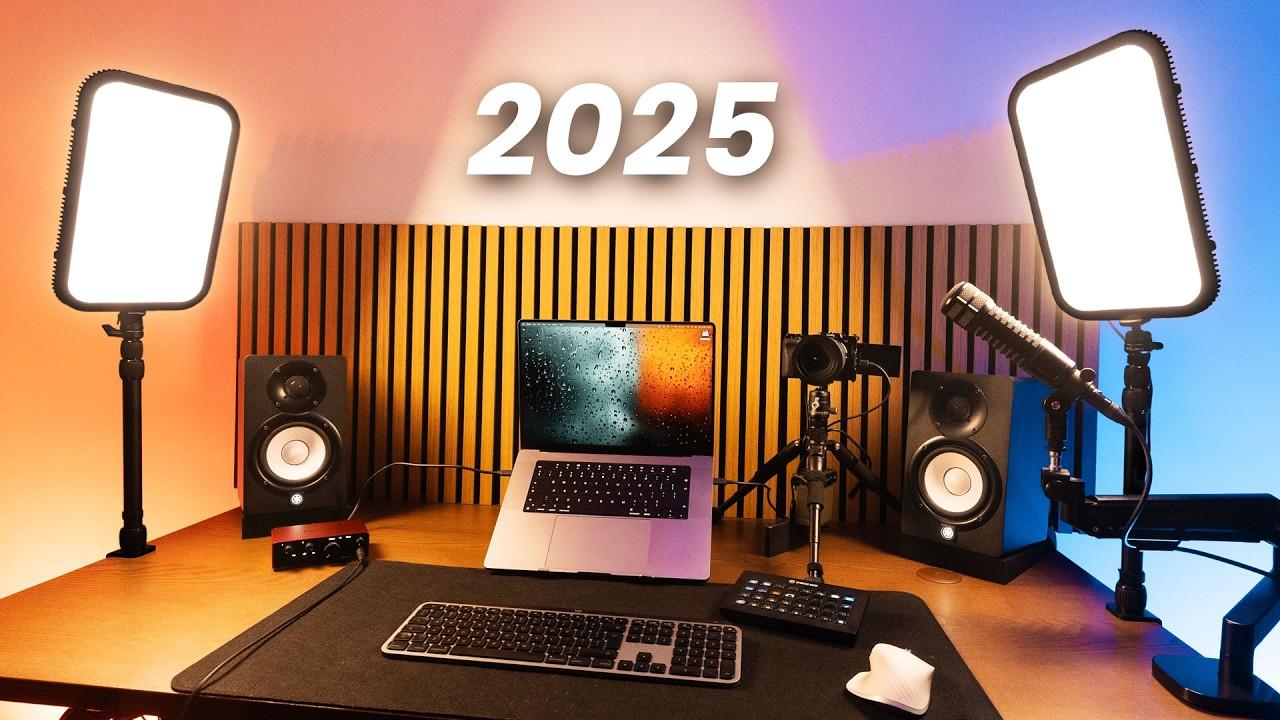
Choosing the Ideal Space for Your YouTube Studio
Selecting the right location for your YouTube studio is the foundation of creating engaging content. Start by considering natural light—spaces with large windows can reduce the need for artificial lighting and create a warm, inviting atmosphere.Ensure the room is quiet and free from distractions, as background noise can disrupt your recordings.If possible, choose a space with ample room for equipment and props, allowing you to experiment with different setups.A dedicated area also helps maintain a professional workflow, keeping your creative process organized and efficient.
Here’s a fast guide to evaluate potential spaces:
- size: Ensure it’s spacious enough for your camera, lighting, and background setup.
- acoustics: Test for echo or external noise that coudl affect audio quality.
- Accessibility: Choose a location that’s easy to access for both you and any collaborators.
| Feature | Importance |
|---|---|
| Natural Light | High |
| soundproofing | Medium |
| Space for Equipment | High |
Remember, your studio doesn’t need to be extravagant—focus on functionality and comfort. A well-thought-out space will not only enhance your videos but also inspire creativity and consistency in your content creation journey.

Essential Equipment Every Content Creator Should Invest In
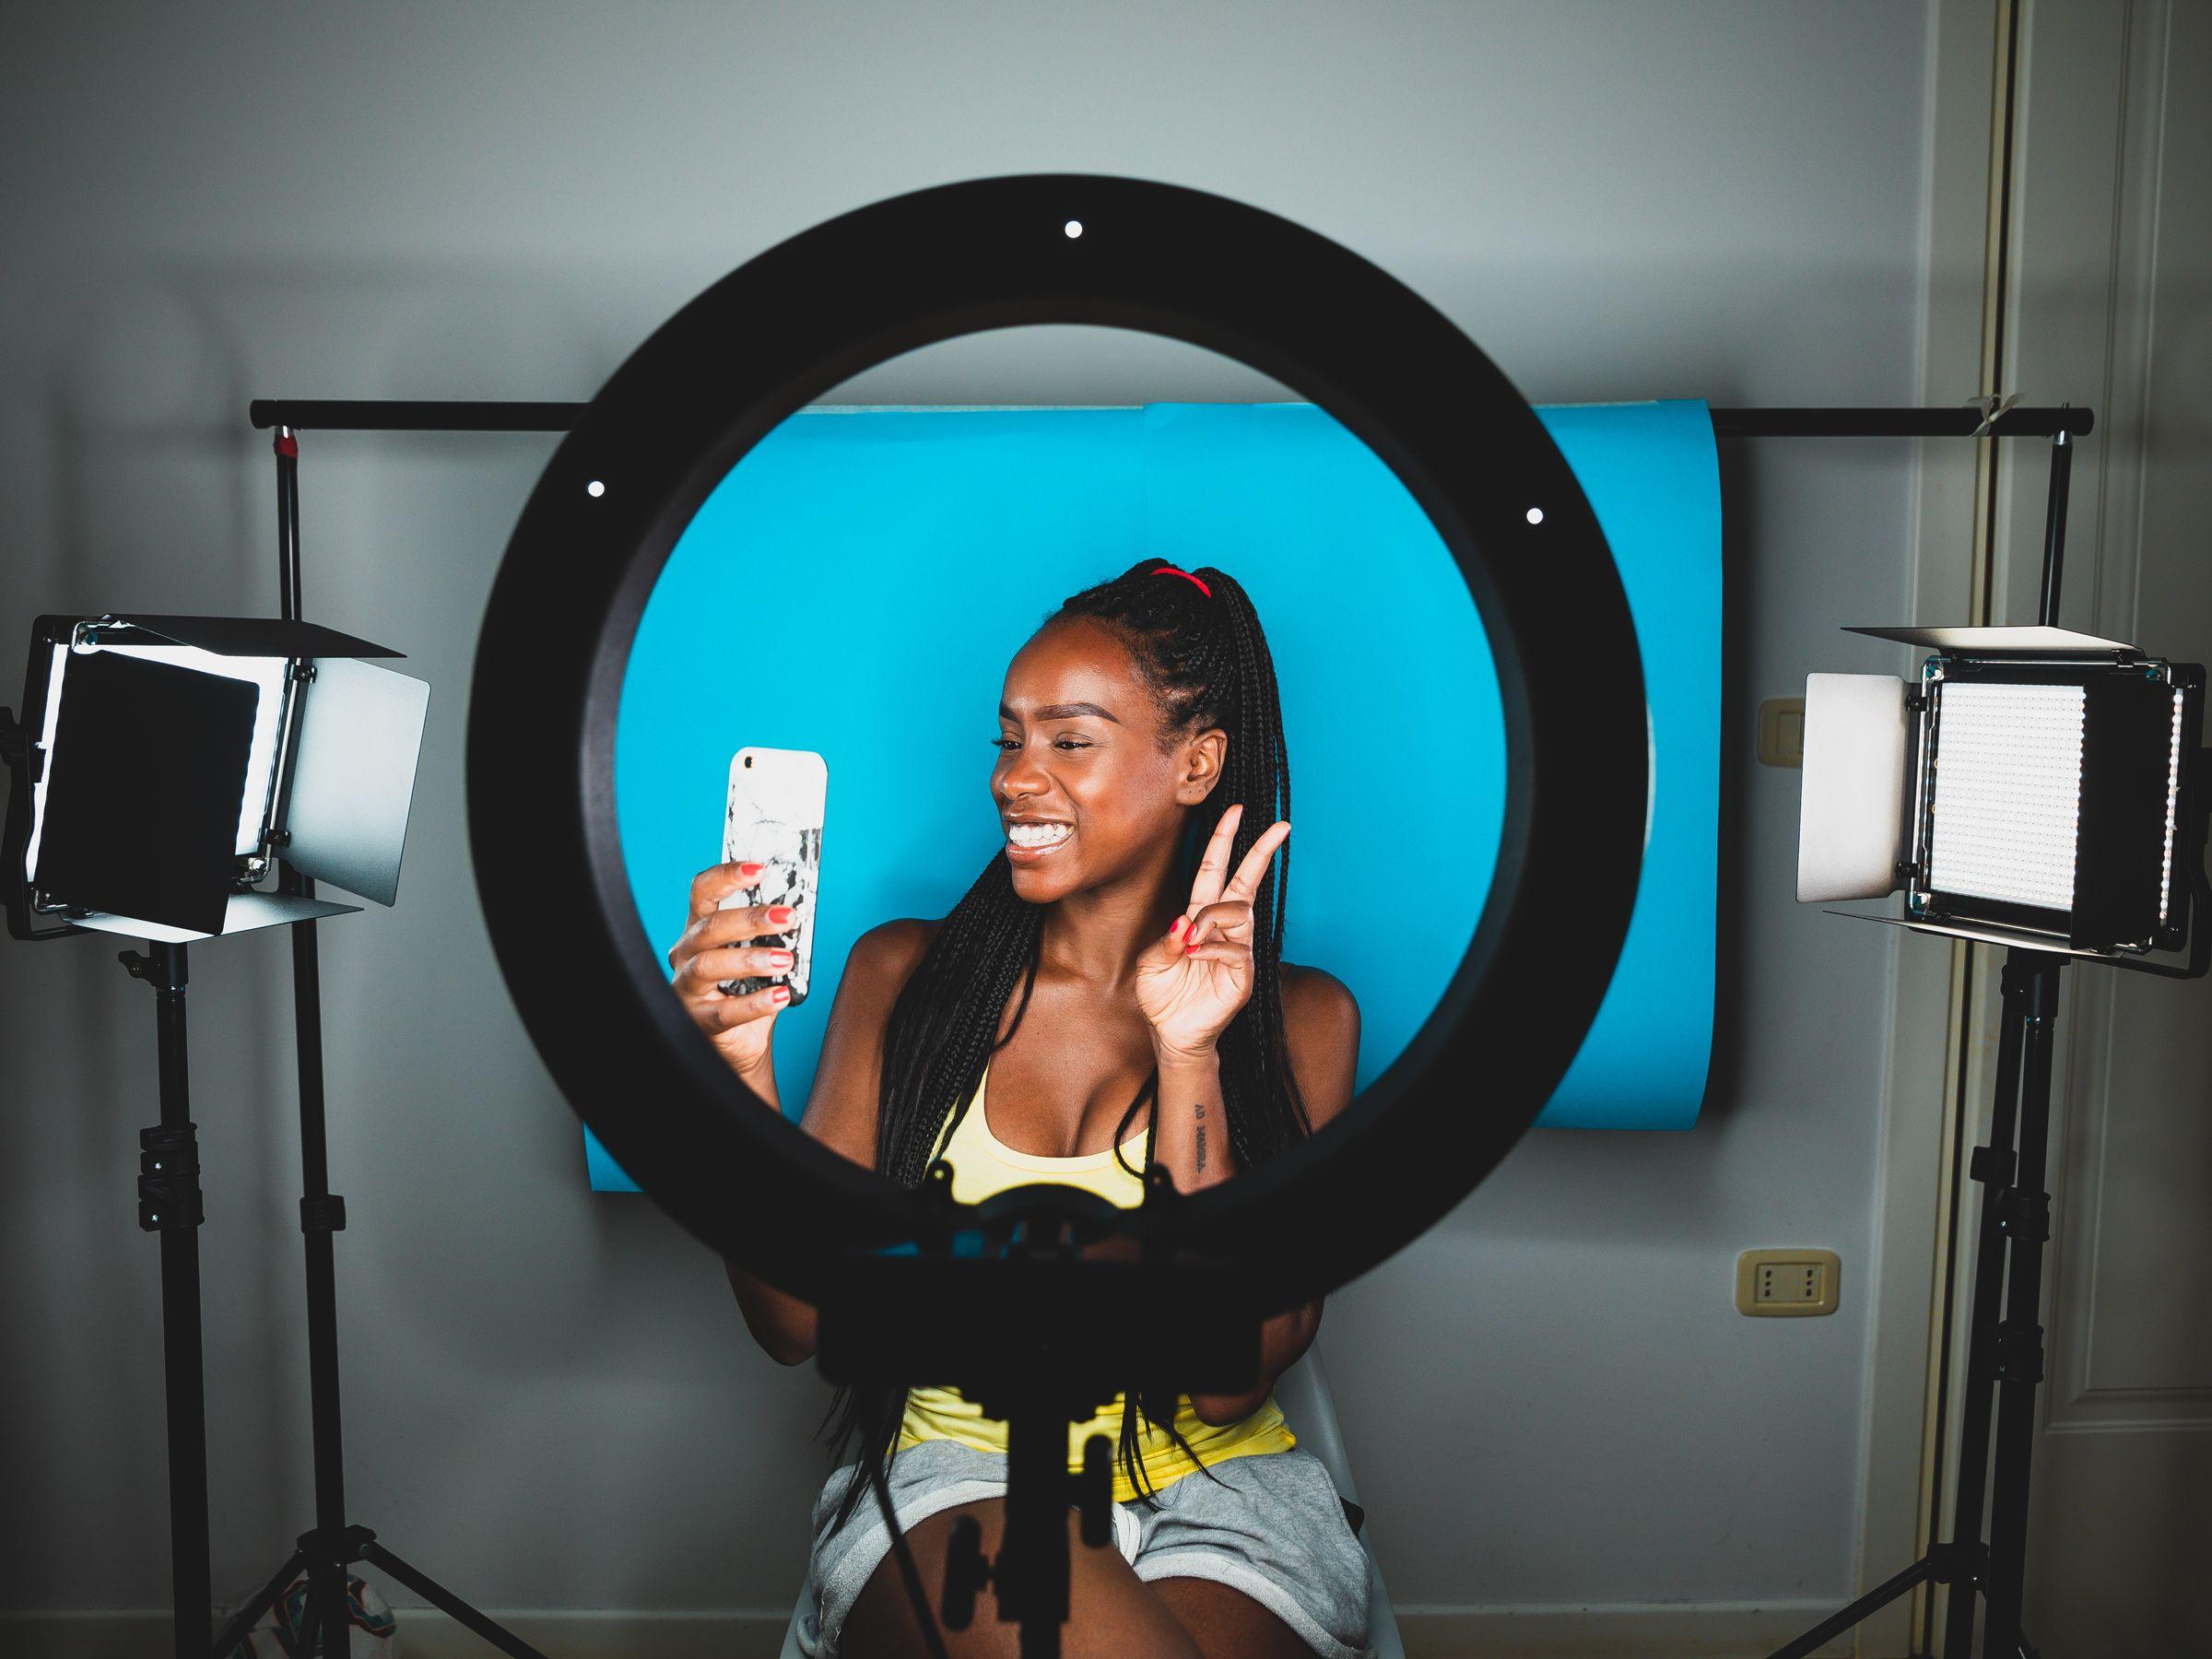
To build a YouTube studio that stands out, quality equipment is non-negotiable. Start with a camera that delivers crisp visuals; DSLRs or mirrorless cameras are ideal, but even a high-end smartphone with good stabilization can work wonders. Pair it with a lapel or shotgun microphone to ensure crystal-clear audio, as poor sound can instantly turn viewers away. Lighting is equally critical—invest in a softbox or ring light to eliminate harsh shadows and create a professional look.Don’t forget a sturdy tripod to keep your shots steady and a green screen for versatile backgrounds. These tools form the foundation of a studio that reflects your dedication to quality content.
Beyond the basics, there are additional essentials that elevate your setup. A powerful computer with ample storage and processing speed is crucial for smooth editing, especially when handling 4K footage. Software like Adobe Premiere Pro or Final Cut Pro can help you craft polished videos, while DaVinci Resolve offers a free, high-quality alternative. A agreeable chair and an ergonomic desk ensure you can work for hours without strain. For those who prefer a more dynamic setup, a gimbal stabilizer adds cinematic movement to your shots. Here’s a quick breakdown of the essentials:
| Equipment | Purpose |
|---|---|
| Camera | Capture high-quality visuals |
| Microphone | Ensure professional-grade audio |
| Lighting Kit | Eliminate shadows and enhance clarity |
| Editing Software | Polish and refine your content |
Lighting and Sound Setup for Professional-Quality Videos
Creating professional-quality videos starts with mastering your lighting and sound setup. Proper lighting ensures your subject is well-lit and visually appealing,while clear audio keeps your audience engaged. Here’s a breakdown of what you need:
- Key Light: Your primary light source should be positioned at a 45-degree angle to your subject for a natural look.
- Fill Light: Use a softer light to eliminate shadows and balance the key light.
- Backlight: place a light behind your subject to add depth and separate them from the background.
- Microphones: Invest in a good quality microphone. Lavalier mics work great for interviews, while shotgun mics are ideal for broader audio capture.
- Acoustic Panels: Reduce echo and background noise by adding panels to your studio walls.
To optimize your setup, consider the following table for quick reference:
| Equipment | purpose | Tips |
|---|---|---|
| Light Panel | Even illumination | Use diffusers to soften harsh lighting. |
| Audio Interface | Enhance sound quality | Connect studio mics for crisp audio. |
| Reflectors | Bounce light | Great for DIY setups on a budget. |
Personalizing Your Studio to Reflect Your Unique Brand
Your YouTube studio is more than just a physical space—it’s a reflection of your brand.Start by choosing a color palette that aligns with your channel’s identity. Whether it’s bold and vibrant or minimalist and neutral,your colors should evoke the same emotions as your content.Incorporate branding elements like logos, taglines, or even a custom backdrop to make your studio instantly recognizable. Think about how your viewers perceive you and let that guide your design choices.
Next,focus on the details that make your studio functional yet personal. Use props or decor that tie into your niche—for example, gaming channels might feature LED lights and gaming consoles, while beauty creators could display makeup displays and vanity mirrors. Organize your space with essentials like:
- Ring lights or softbox lighting for optimal video quality
- Acoustic panels to minimize echo and improve audio
- A comfortable chair or stool to keep you at ease during long filming sessions
| Element | Purpose |
|---|---|
| Backdrop | Sets the visual tone for your videos |
| Lighting | Enhances video clarity and mood |
| Personal Props | adds authenticity and relatability |
By thoughtfully curating your studio, you create a space that not only inspires your creativity but also strengthens your connection with your audience.
Final Thoughts
Outro
And there you have it—a blueprint to transform any space into your ultimate YouTube studio. Whether you’re starting with a corner of your bedroom or dedicating an entire room to your craft, remember that perfection isn’t about having the most expensive gear or the flashiest setup. it’s about creating a space that sparks creativity, reflects your unique style, and supports your vision.
As you piece together your studio, let it evolve with you. Experiment, adjust, and don’t be afraid to make it your own. After all, your YouTube journey is as much about the process as it is about the content you create. So, grab your camera, hit record, and let your studio be the stage where your stories come to life.
Happy filming! 🎥✨
