Mastering National Self-Closing Screen Door Hinge Installation

Imagine the gentle hum of a summer ⁤breeze drifting through your home,​ unhindered by ⁢pesky flies or stray critters. the secret to this‌ seamless ⁣blend of comfort and ‍practicality lies ‍in the humble yet indispensable national self-closing screen door‍ hinge. These unassuming devices are ‌the unsung heroes ⁣of everyday convenience,‍ ensuring your screen door swings⁣ shut with precision every time. Yet, mastering their installation isn’t just about tools and technique—it’s about transforming functionality into artistry.‍ Whether⁤ you’re a seasoned ​DIY enthusiast or a curious novice, this guide will walk ‌you‌ through the steps to install these hinges ​like a pro, ensuring your screen door operates flawlessly for years to come.⁢ Let’s open the door ‌to mastery, one hinge at‍ a time.

Understanding the Components and Tools Needed for Installation
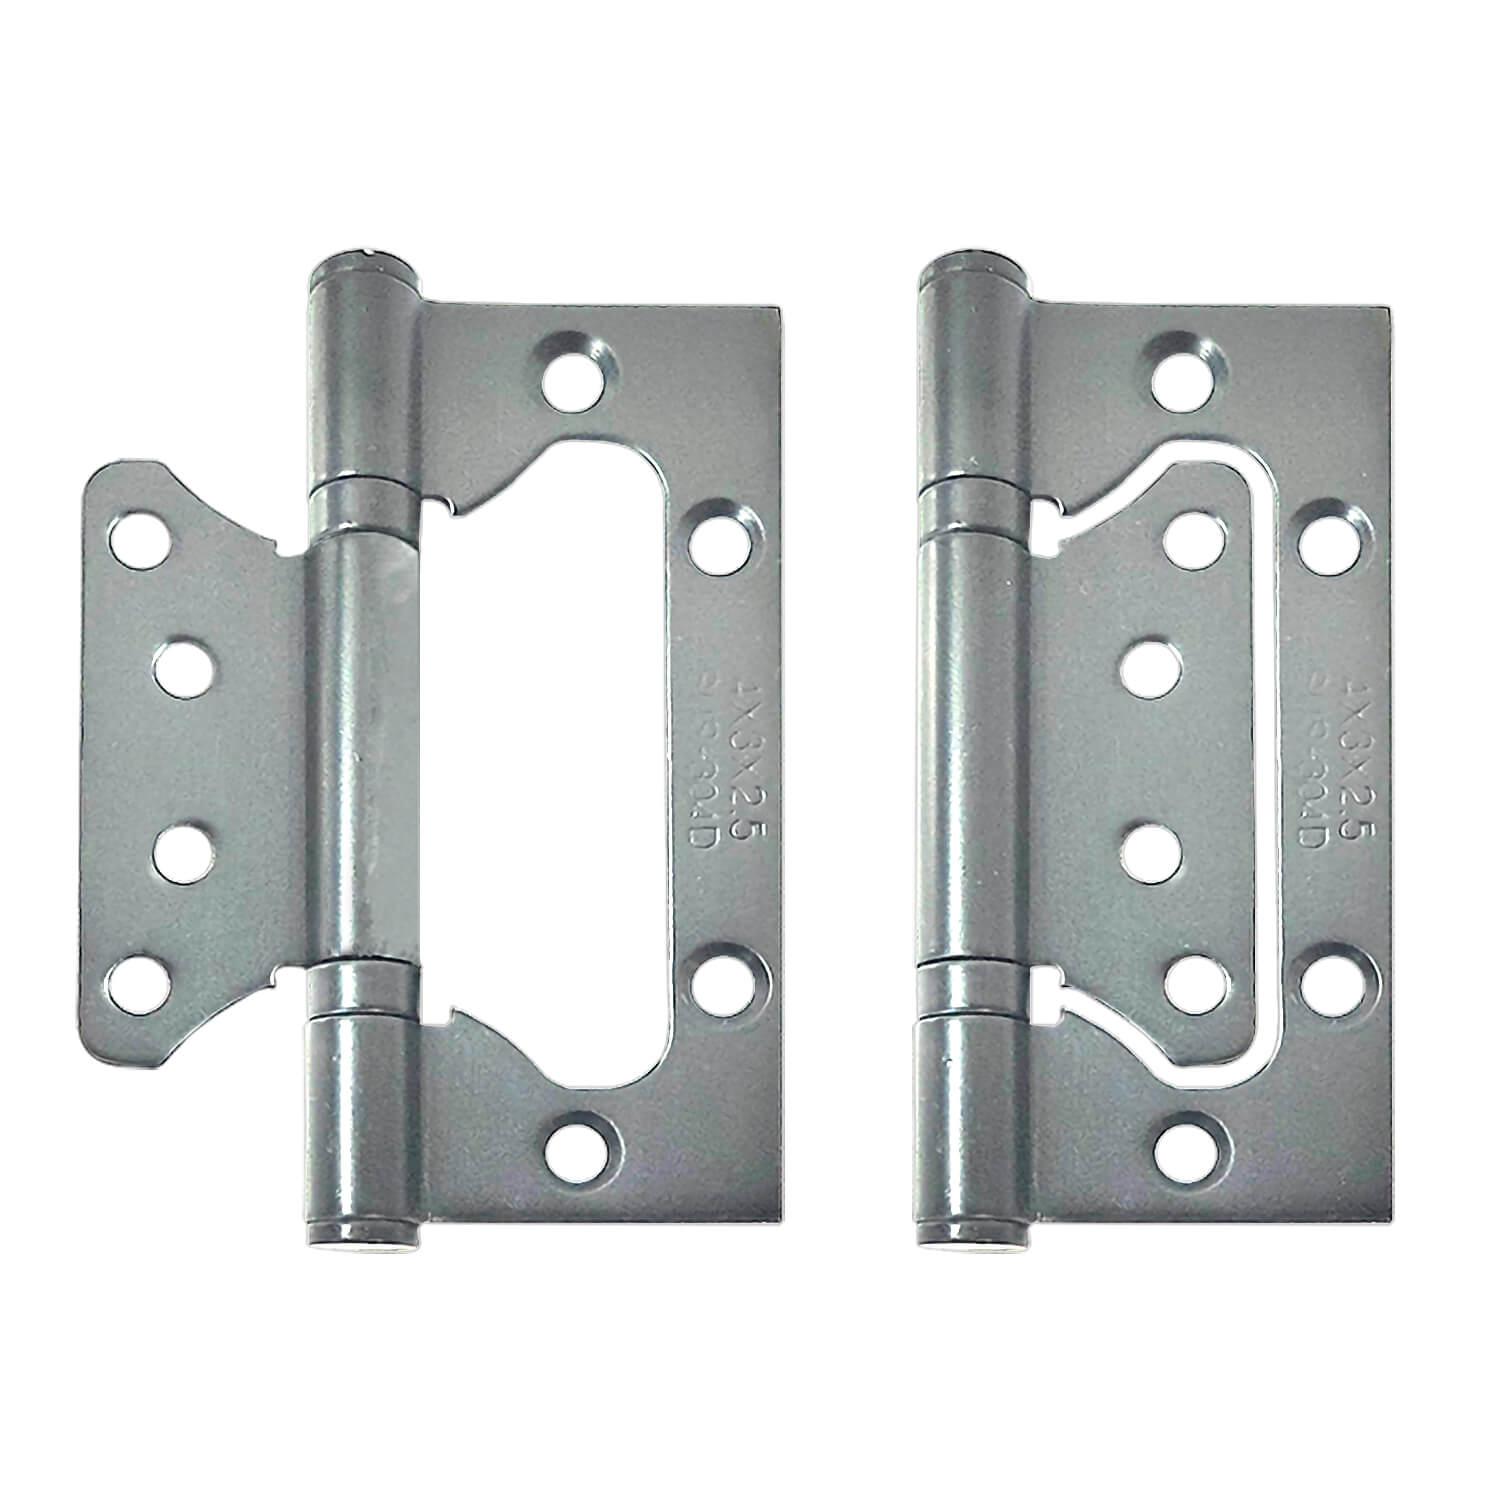
Before diving into the ⁤installation process,‍ it’s essential to familiarize yourself with‌ the key components and tools required for a seamless ‍setup.‍ A self-closing​ screen door​ hinge system ‍typically includes hinge plates, spring mechanisms, and adjustment screws—each playing a crucial role in ensuring smooth operation. ⁢Additionally, you’ll need basic ⁤tools such as a screwdriver, ⁣ measuring ‌tape, and ​ drill to secure the hinges properly. Don’t overlook optional accessories ⁣like lubricant for maintenance or shims ⁢ for alignment adjustments.

To ensure a hassle-free installation, ⁢gather the following items beforehand:

  • Hinge set ‍(including top and bottom hinges)
  • Mounting screws (check for corrosion-resistant options)
  • Level for precise‌ alignment
  • Pencil or marker for marking drill points
Component Purpose
Spring Mechanism Provides the self-closing tension
Adjustment Screws Fine-tunes closing speed and force

Step by Step ​Guide to Aligning and Mounting the Hinge

To ensure your self-closing screen door operates smoothly, aligning and mounting the‍ hinge correctly is ⁢essential. Begin by positioning the hinge against the door frame, ensuring it is evenly⁣ spaced horizontally and vertically. Use a level to confirm the alignment is perfectly straight. Mark the⁤ screw holes​ lightly with a pencil to guide ⁢your drilling.Pre-drill the holes to prevent wood splitting, especially if working⁣ with hardwood frames.Secure the hinge with screws, tightening them firmly but not overly so, as this could warp the hinge or‍ frame.

Onc the hinge is⁤ mounted, check it’s functionality by attaching the door. Here’s a rapid ‍checklist to ensure everything is ‌in order:

  • Alignment: Door should swing freely ​without‌ rubbing against the frame.
  • Gap: Maintain a‍ consistent gap between the door and frame for smooth operation.
  • Self-Closing⁢ Mechanism: Test the door to ⁢ensure it closes firmly and smoothly.
Step Tool Needed
Positioning Hinge Tape Measure, Level
Pre-Drilling⁤ Holes Drill, Appropriate ⁣Drill Bit
Securing Hinge Screwdriver, Screws

Tips for Ensuring Smooth Operation and Longevity

To ensure your ⁢National self-closing screen door hinge operates flawlessly for years to come, consider these practical steps. Regular Maintenance is key—clean the hinge‍ mechanism periodically‌ to remove dust and ⁤debris, which can hinder smooth‌ movement. Apply a ‌light lubricant, such as silicone spray, to the ‍pivot points every few months to⁣ reduce friction and prevent wear. Additionally,inspect the door alignment regularly; ‌even ⁢minor misalignment can​ strain the hinge and compromise its functionality.

Task Frequency
Clean hinge mechanism Monthly
Lubricate pivot points Every 3 ⁢months
Check door alignment Bi-monthly

Environmental Considerations also play a⁤ significant role in preserving your ⁣hinge. ‌Avoid exposing⁣ the door to extreme weather conditions, as prolonged​ moisture⁤ or heat can ​degrade the hinge’s materials.If your door is in a high-traffic area,⁤ consider installing a protective shield to ​minimize physical impact. Lastly, ⁣ensure the door’s weight does​ not exceed ‌the hinge’s capacity—an overloaded hinge will wear out prematurely. By following these simple yet⁢ effective measures, you can⁣ extend the lifespan of your‌ installation and maintain⁣ optimal performance.

Troubleshooting Common Issues and Maintenance Strategies

Even ​the best‍ installations can⁤ encounter hiccups.If your self-closing screen door isn’t functioning smoothly, check for these common issues:

  • Misaligned ‌hinges: Ensure the door‌ is level and ​the hinges are properly seated.
  • Stiff movement: Lubricate the hinge mechanism with a silicone-based spray.
  • Loose screws: Tighten all fasteners to prevent⁣ wobbling ​or sagging.
  • Worn-out springs: Replace them if‌ the door doesn’t close firmly.

Regular maintenance⁤ keeps your hinges in top shape. Follow these strategies to extend their lifespan:

Task Frequency
Clean hinges Every 3 months
Check alignment twice a year
Lubricate moving parts annually

To Wrap It ​Up

Outro:

and there ‍you have it—your​ guide to mastering the art of national self-closing screen door⁢ hinge installation! With the right tools,patience,and a little finesse,you’ve now unlocked the secret to smooth,effortless door swings​ and long-lasting performance. Whether you’re keeping bugs at bay or simply adding a polished touch to your entryway, a well-installed ‍hinge makes all the⁤ difference.

So go ahead, step back,⁤ and admire your handiwork. Your door closes like a dream, and you? You’ve just leveled up your ⁤DIY game. Until the next home advancement adventure—happy hinging! 🚪✨

Mastering Screen Doors: Easy Butterfly Hinge Installation Guide

Introduction: Unlocking the Secrets of Screen Door Mastery

in the world of home improvement,few projects are as ‍subtly transformative as installing or upgrading a screen door. It’s the gateway to fresh air, natural light, ​and a seamless connection between your indoor sanctuary and the great outdoors. But for many, the ​thought ⁢of tackling a screen door hinge installation—especially something as elegant as⁢ a butterfly hinge—can feel daunting.

Fear not! Weather you’re a seasoned ‌DIY enthusiast ⁤or a curious beginner, mastering the art ⁢of butterfly hinge installation⁤ is easier than you think. This guide is hear to demystify the process, offering step-by-step instructions,‍ pro tips, and ⁤a dash of inspiration ⁤to⁢ help you create a sturdy, stylish‌ screen door that swings with grace. so, grab your​ tools and let’s embark on this journey to screen door ​perfection—one butterfly hinge at a time.
Understanding Butterfly Hinges for Screen Doors

Understanding Butterfly Hinges for Screen Doors

butterfly ​hinges are a ⁢popular⁤ choice for screen doors due to⁣ their sleek design and functionality.These hinges,⁣ frequently enough shaped like butterfly wings, not only add a decorative⁢ touch⁤ but also⁤ provide smooth movement⁢ for your door. when choosing butterfly hinges, consider the material—stainless ⁣steel for durability or brass for a classic look. proper alignment⁢ is crucial for seamless operation. Use a level to ensure the door hangs ⁣straight, and mark the hinge placement precisely before drilling. This ensures your screen door opens and closes without ‌catching⁢ or sagging.

Installing butterfly hinges is straightforward with the right tools and a bit ‍of patience. Here’s a quick overview of basic steps:

  • Measure and⁢ mark the hinge positions on both the door and frame.
  • Pre-drill‌ holes to prevent wood from splitting.
  • Secure the hinges using screws, ensuring they’re ​tight but not over-tightened.

For a clearer understanding, here’s ⁣a⁣ simple table comparing⁢ butterfly hinges with other hinge types:

Feature Butterfly⁢ Hinges Butt⁢ Hinges Pivot Hinges
Aesthetic Appeal High Moderate Low
Ease of Installation easy Moderate Complex
Durability High High Moderate

Essential Tools and Materials for a‌ Smooth Installation

Essential Tools and⁤ Materials for a Smooth Installation

To ensure a seamless installation of butterfly hinges on your screen door, ⁣gathering the right tools and materials is ‍crucial. start​ with the basics: a high-quality screwdriver set, preferably with both flathead and Phillips heads, to handle different screw⁢ types. A tape measure ​will ⁣help you align ‌the⁤ hinges accurately, while a pencil is essential for marking drilling points.‌ Don’t forget a drill with a fine bit to create pilot holes, which⁣ prevent splitting ​the wood. For a ​polished finish,a level ensures ⁣the door‌ hangs straight,and sandpaper can smooth out any rough edges on ⁣the door or frame.

When it comes⁣ to materials,selecting‌ the right butterfly hinges is key. Opt for⁢ durable ‌stainless steel hinges that can withstand outdoor conditions. You’ll also‍ need wood screws ⁤of the appropriate length, typically 1 ​to 1.5 inches, to secure‍ the hinges firmly. For added stability, consider using wood filler to patch any ‌pre-existing holes or imperfections in the door frame. Below is a ‌quick reference table for your convenience:

Tool/Material Purpose
Screwdriver Set fastening screws
Tape Measure Measuring alignment
drill with fine⁣ Bit Creating pilot holes
Stainless Steel Hinges durable ⁢hardware
wood Screws (1-1.5”) Securing hinges

Step by Step Guide to Installing Butterfly Hinges

Installing butterfly hinges on screen doors is a straightforward process that enhances both⁣ functionality and aesthetics. Begin by gathering ​your tools: a drill, screws, hinge templates, and a measuring⁣ tape. Ensure the door and frame are clean and free of‍ debris for⁤ a‍ smooth⁣ installation. Align the hinges‍ with the door edge, marking the‍ screw holes accurately using a pencil. Precision ⁤is key here—any misalignment can ‍affect the door’s operation.

Next,secure the hinges using your drill and screws,starting with the top hinge to maintain balance. Test the door’s movement to confirm it swings freely without obstruction. Below is a quick ‌reference ‌table‍ for⁢ hinge placement:

Position Measurement
Top Hinge 6-7 ⁢inches from top
Bottom Hinge 6-7⁣ inches from bottom
middle Hinge (if needed) Centered between top ⁢and bottom

For added durability, consider using wood screws for wooden doors and self-tapping screws for metal frames. This ensures longevity and⁤ smooth operation for years ⁢to come.

Tips ⁣for Maintaining and Troubleshooting Your Hinges

Maintaining and troubleshooting hinges ensures⁣ your screen door operates smoothly for years.Regular cleaning is essential—wipe down hinges with a damp cloth to remove dirt and debris, than dry thoroughly ​to prevent rust. Lubricate the⁢ pivot points every three to six months with⁢ a silicone-based lubricant for optimal performance. If ‍you notice squeaking or‍ stiffness, address it instantly‍ to avoid further wear.For butterfly hinges, check the alignment periodically; uneven doors can ‍strain the hinges and damage the frame.

Here’s a quick⁣ reference table for common hinge ⁢issues and solutions:

Issue Solution
Squeaking Apply lubricant ⁤to pivot points.
Misalignment Tighten screws ‍or‌ adjust hinge placement.
Rust Clean with vinegar, sand lightly, and repaint.
  • Inspect screws regularly to ensure they’re⁣ snug but not overtightened.
  • If hinges are damaged, replace them promptly to avoid​ compromising the door.
  • Consider using⁤ a protective coating to shield hinges from moisture ⁤and corrosion.

In Retrospect

As you gently close your newly installed screen door, take a moment to appreciate the simplicity and elegance ​of the butterfly hinge. What once seemed ‌like a daunting task has⁢ now transformed into a ‌satisfying accomplishment—a testament to ‍patience,⁤ precision, and ​the ​joy of mastering a new skill. ​With hinges​ that now glide effortlessly, your‌ door stands as a seamless gateway between the indoors and the world beyond, inviting fresh air and new possibilities.⁢ Whether you’re a seasoned DIY enthusiast or a ⁢first-time fixer, this small yet impactful project‌ reminds us that ​even the simplest upgrades ‍can breathe⁢ new life into our homes. So, step ‍back, admire​ your ⁤handiwork, and let your screen door ‍swing proudly—because sometimes,⁤ the ⁢smallest changes make the biggest difference.